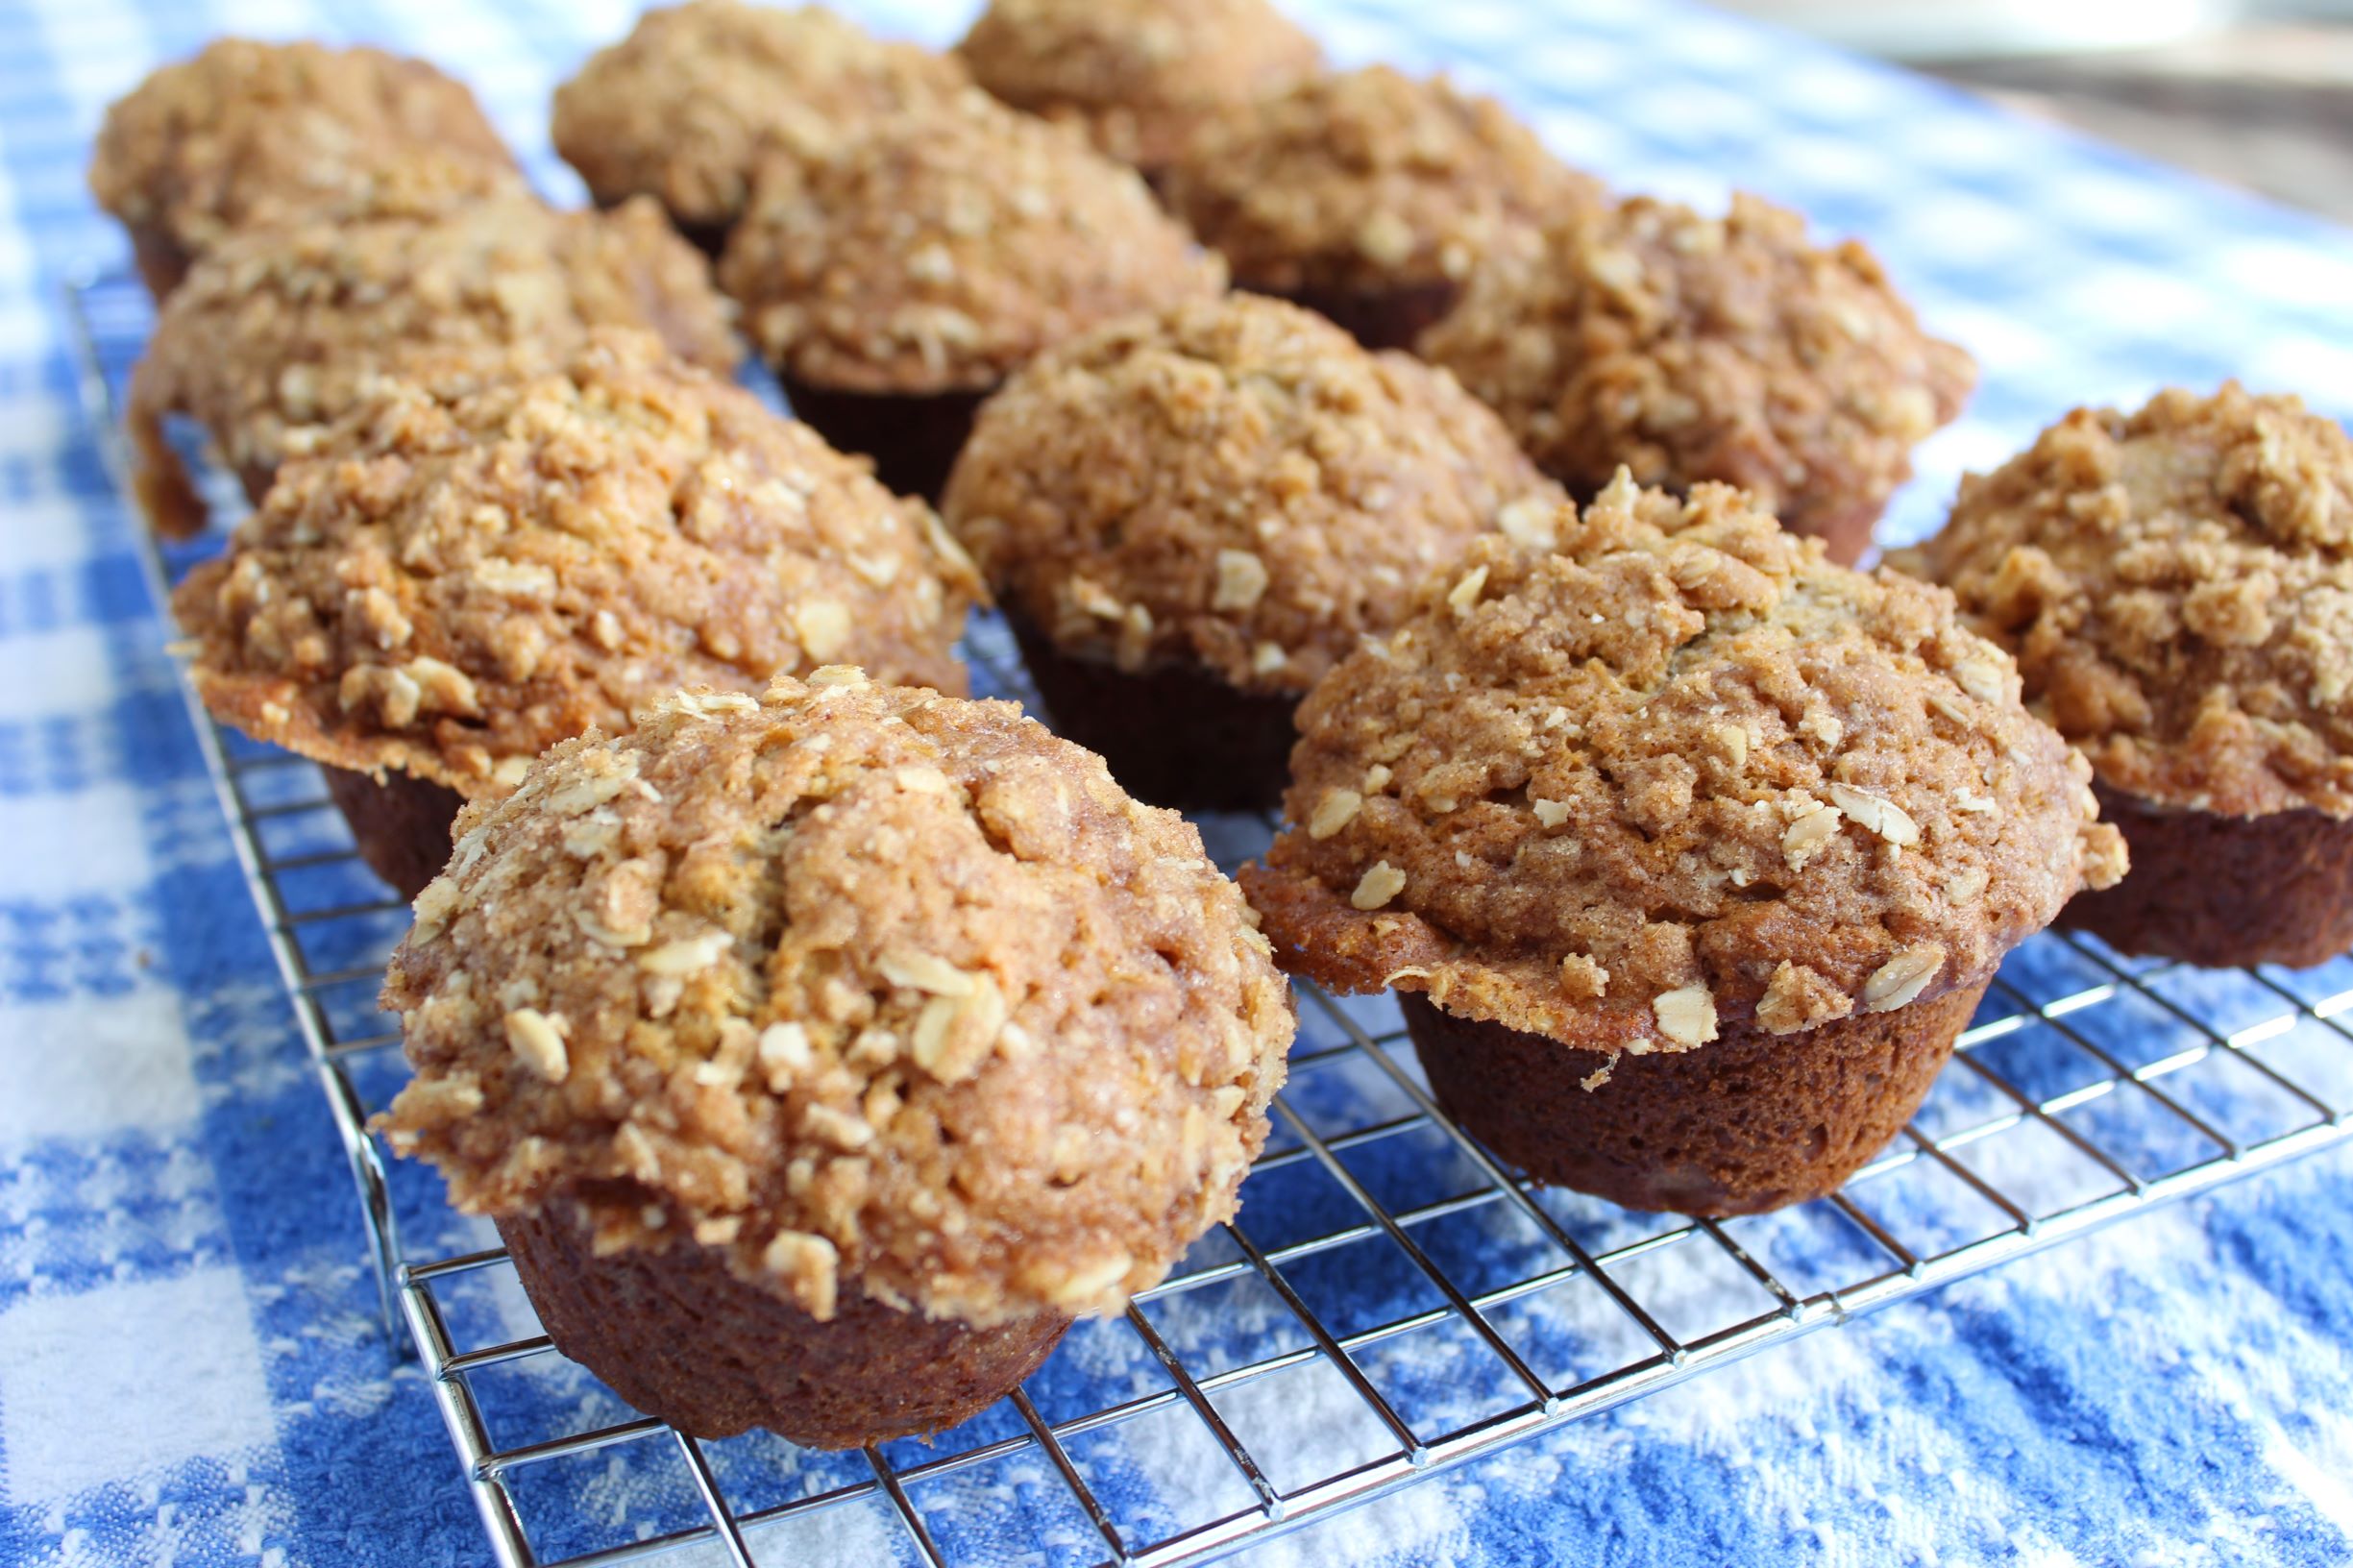
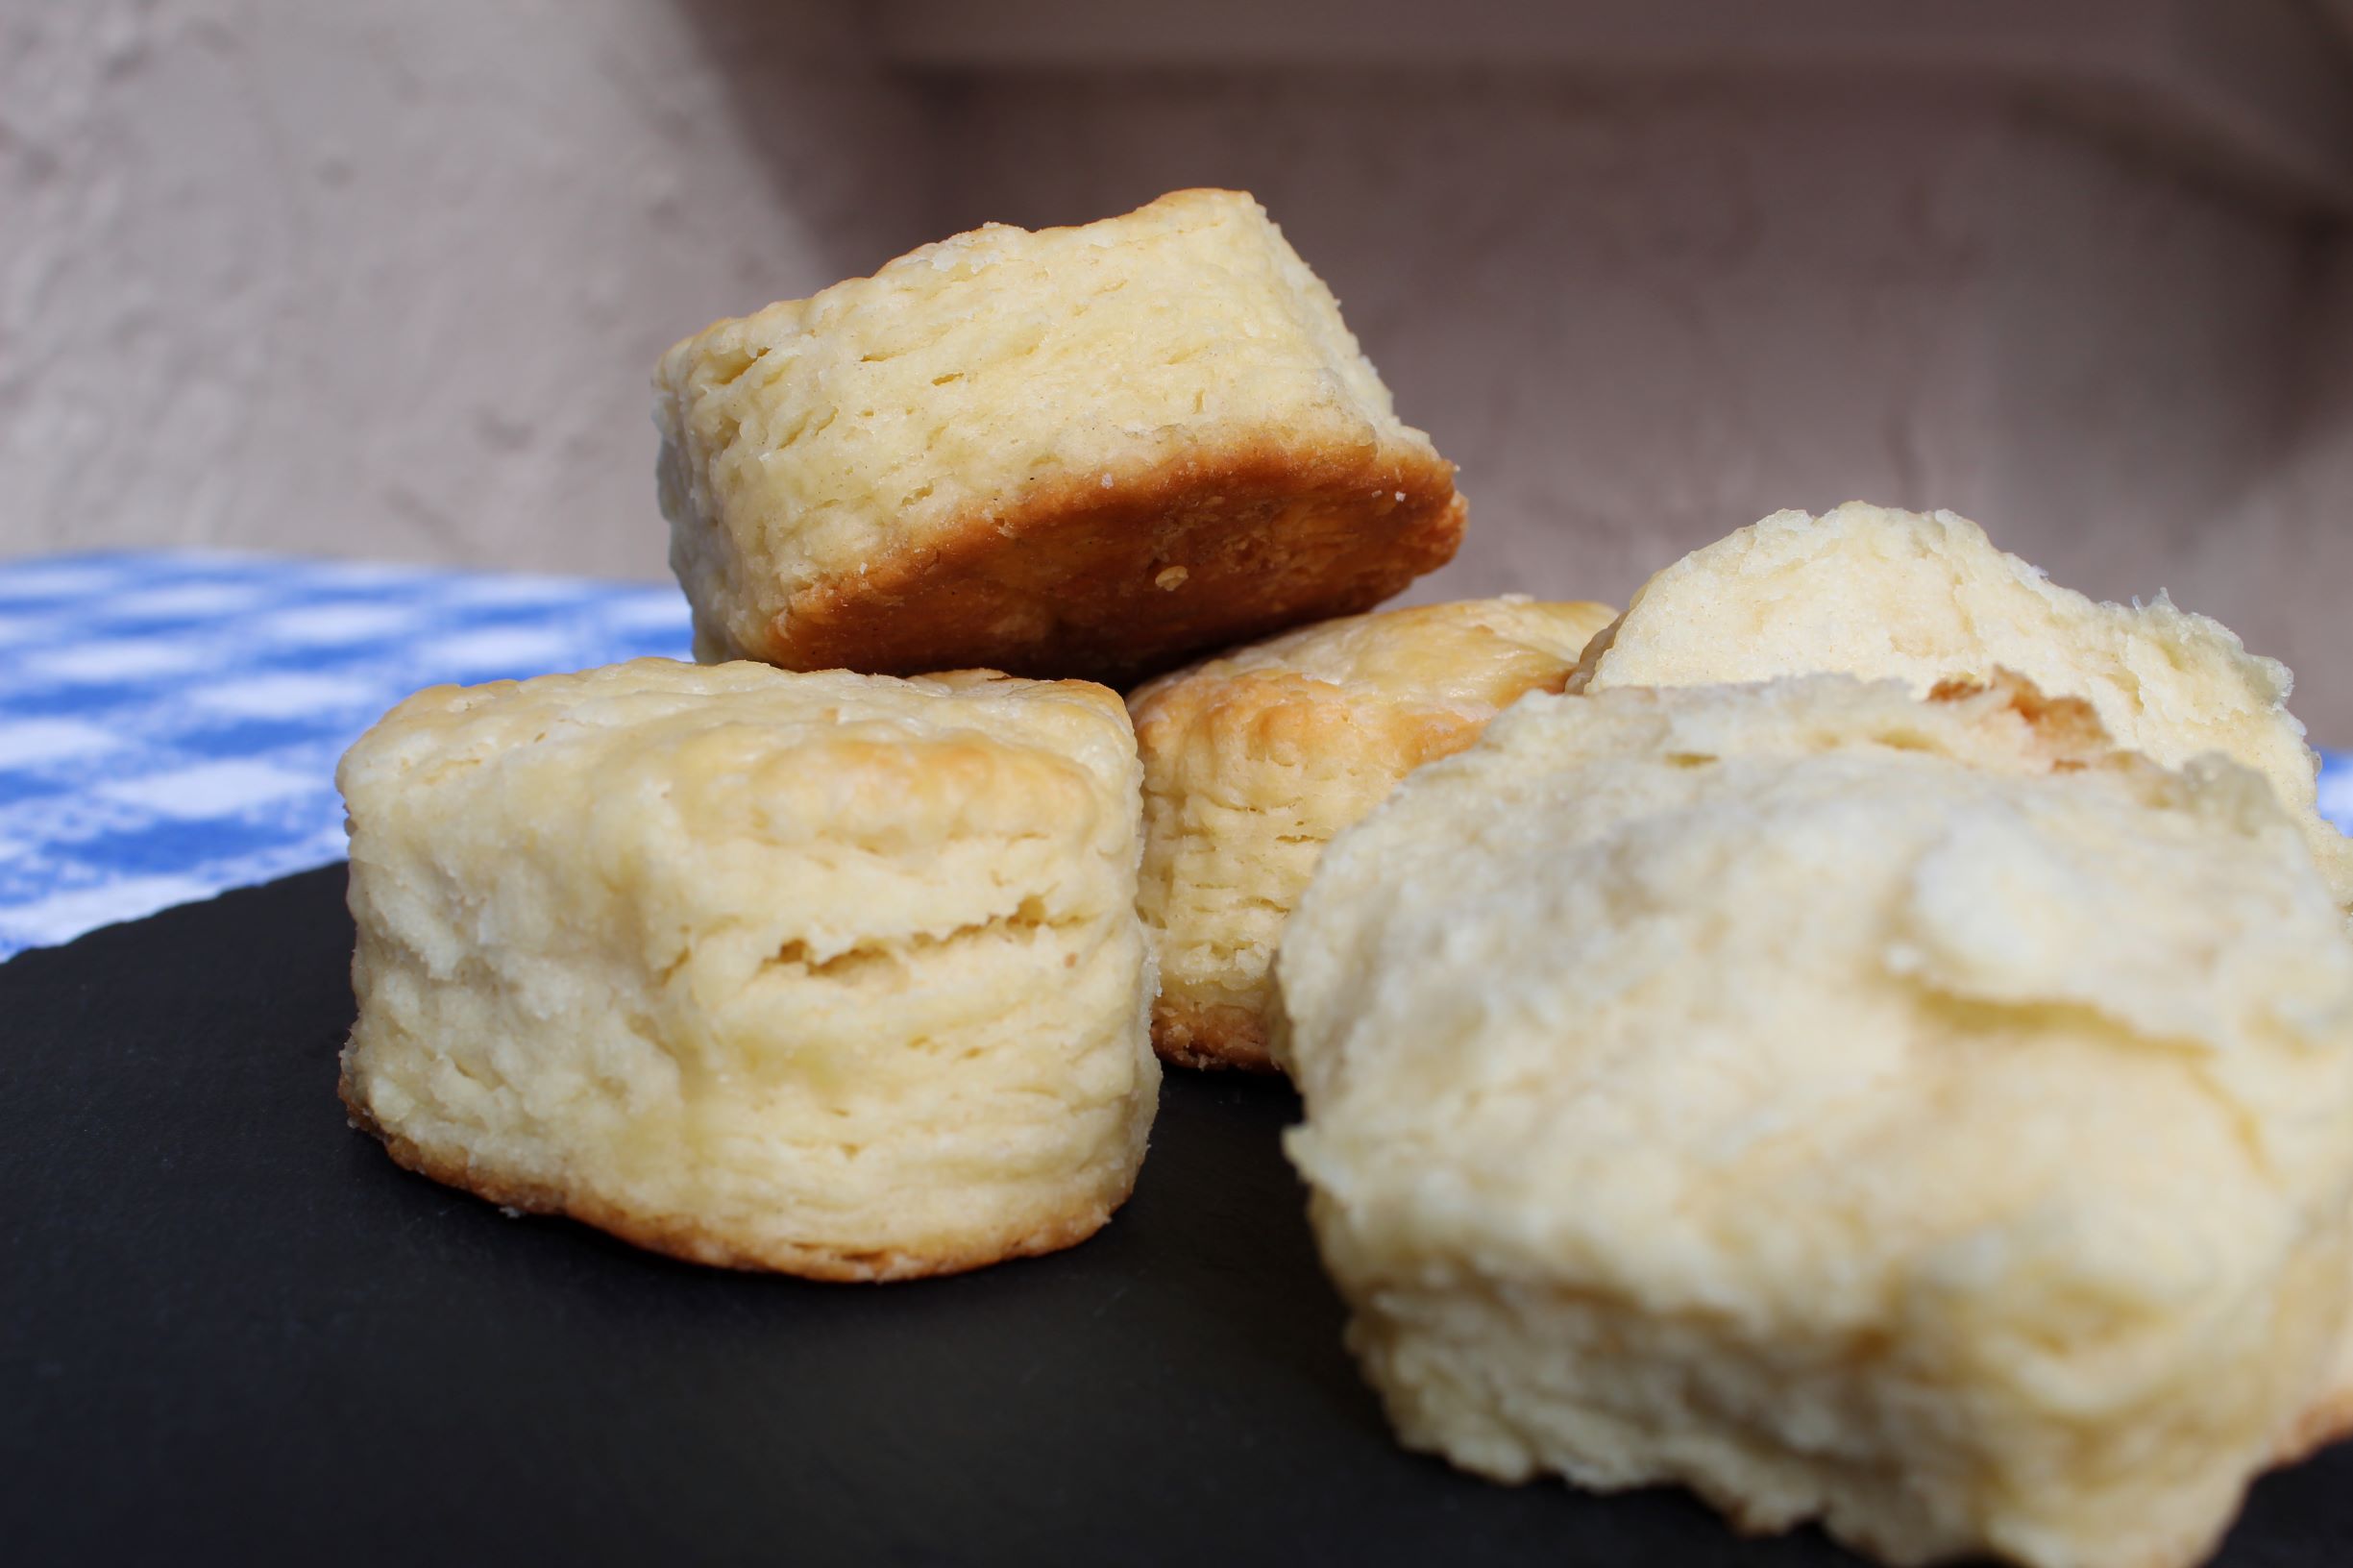
I love biscuits. I will eat them any way, any time, any place. If I go to a restaurant and there are biscuits on the menu, I’m getting them. I have tried more biscuits in the last 26 years then I can even begin to count. And all of these biscuits have led me on the search to create the best biscuit ever.
I have a love hate relationship with my biscuit recipe. I have made these biscuits so many different ways over the years, at this point I’m not even sure what iteration of my recipe I am on. I have tried different types of flour (all-purpose versus bread), different types of fat (butter versus vegetable shortening), and different types of liquid (whole milk versus buttermilk). Here are a few things I have learned along the way:
- Stick to traditional all-purpose flour, preferably unbleached. Bread flour has a higher gluten content than traditional all-purpose flour. While this is great for many types of breads and pizza doughs, it is not ideal for biscuits. Biscuits are by their very nature meant to be soft, flaky (insert “just like the person who made them” joke here), and tender. By using bread flour with its higher gluten content you create a biscuit that is tougher and firmer.
- I ultimately settled on butter as being the best option for biscuits because of the wonderful flavor that it brings. However, if you are running low on butter or looking to avoid it, vegetable shortening can be used. What is most critical is that, like the butter, it is frozen first. More on the importance of working with cold ingredients in a minute.
- Buttermilk provides a richness and depth of flavor that regular whole milk does not. If you have ever baked with buttermilk before I am sure you have noticed the almost sour smell that it has, along with its almost yogurt like thickness. When added to baked goods such as biscuits and cakes it brings a moistness and extra layer of flavor that regular milk does not. Although, like with butter versus shortening, in a pinch regular whole milk can be used. You can even sour it by taking a cup of whole milk and replacing 1 tablespoon of milk with a tablespoon of vinegar. Let the mixture stand for 5 minutes and you will have “buttermilk.”

At some point in your life you have probably heard someone squawk about how important it is to keep biscuit or pastry dough cold, so that the finished product will be flaky. But did they ever explain to you why cold dough turns out so light and flaky? Well here it is… by keeping the dough and more to the point the butter (or shortening) cold it means that there will be little solid bits and pieces of butter throughout the dough when it goes into the oven. When that cold butter hits the heat of the oven it quickly melts and evaporates. That evaporation creates a little puff of steam that forces the dough around it to separate. Now multiple this by several hundred bits of butter in a biscuit. The result is multiple flaky layers of dough being created as the biscuit bakes and the butter melts. If the butter on the other hand is not kept cold and comes to room temperature it will end up creaming into the mixture just like making a cake and the result will be an almost cake like biscuit. So, are we starting to see why cold dough is so incredibly important?
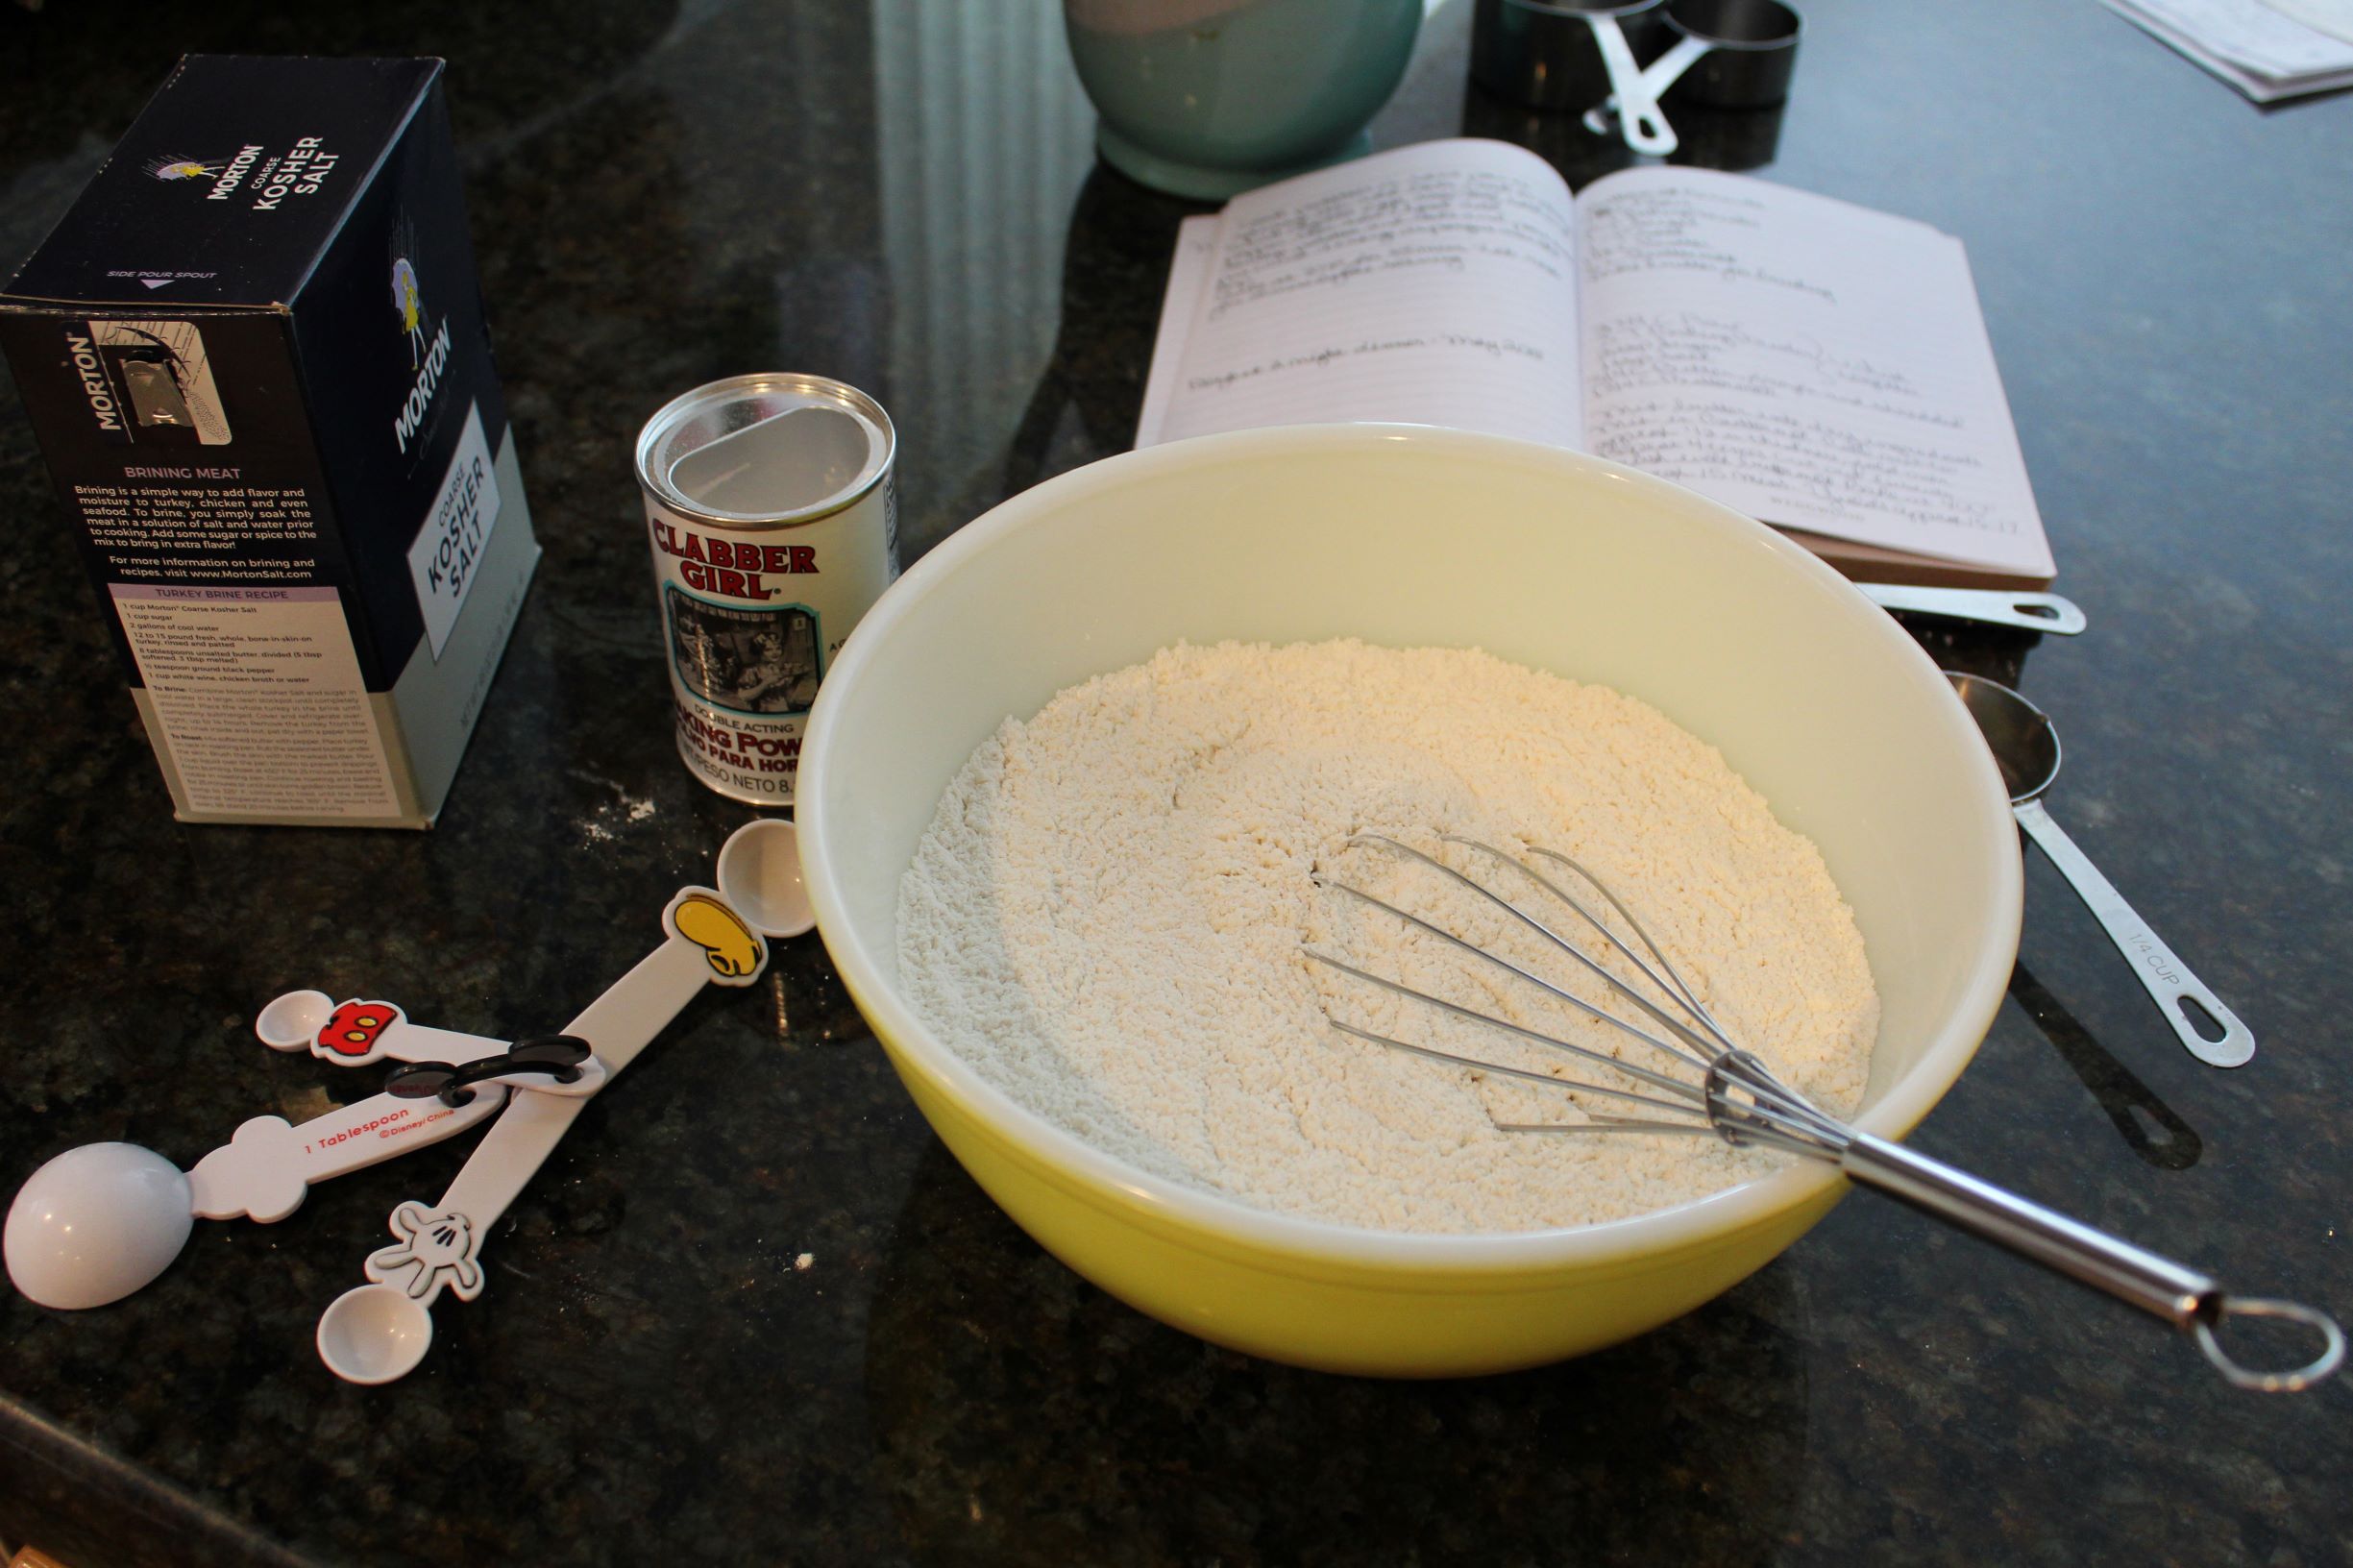
That being said I like to chill everything for about 30 minutes before I assemble the biscuits. I whisk together the dry ingredients and set the in the freezer along with the butter.
Once the butter is frozen you will want to move quickly to grate the butter and mix it into the dry ingredients. Remove the buttermilk from the refrigerator at the last minute and add it to the flour/butter mixture. Again, you will want to continue working quickly to mix in the buttermilk until the mixture is just combined.

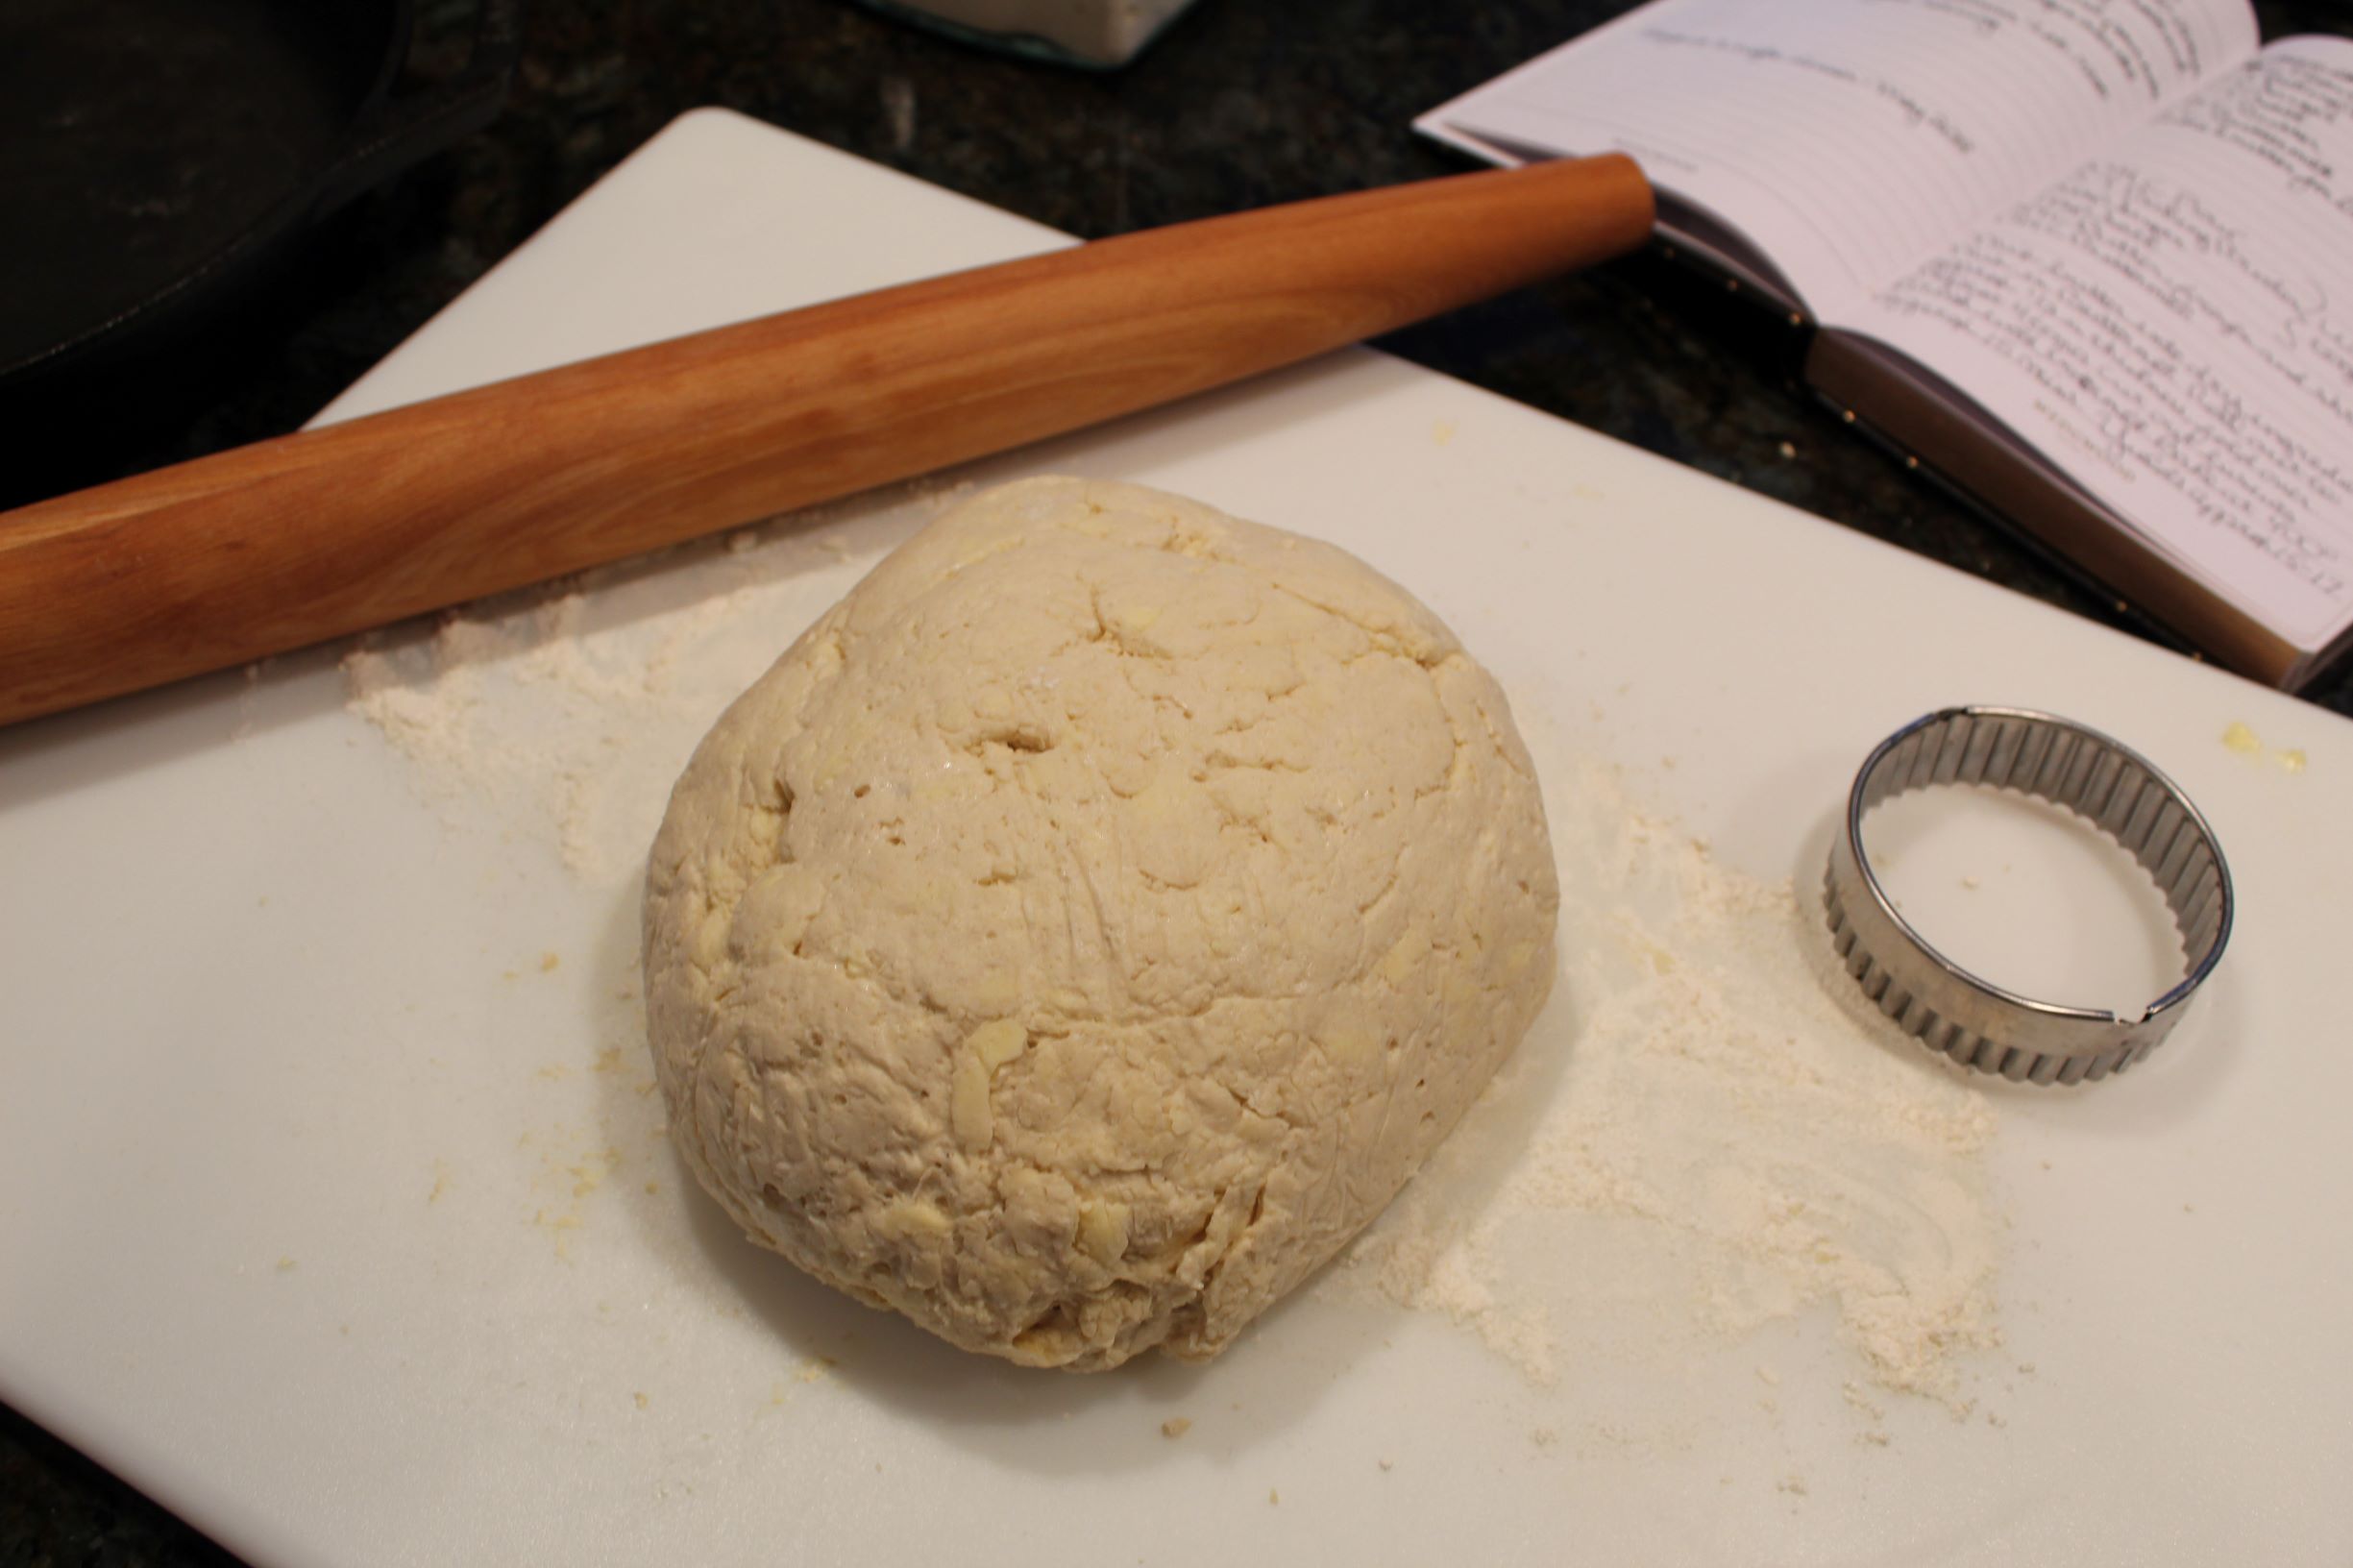
Turn the dough out on to a lightly floured surface to knead for one or two minutes, just until all of the ingredients have completely combined. It is important not to overwork the dough as this will make for a tough and stodgy final product. Once a homogenous mixture has been formed you can begin the lamination process. Wait… lamination you say? You mean we are going to encase the dough in sheets of plastic? No, no, not that kind of lamination… in the context of baking lamination is just a fancy way of saying that we are going to create layers in the dough. To do this simply roll out the dough to about a half an inch thickness. Then fold it in quarters, and roll it out again. In total you will roll out and fold up the dough 4 times. After the last roll and fold, wrap the dough up in plastic and set it the refrigerator for a least 30 minutes to help keep the butter cold. Then, when it is time to make the biscuits roll out the dough one final time to about a ½ to ¾ inch thickness and cut it into the desired shapes.

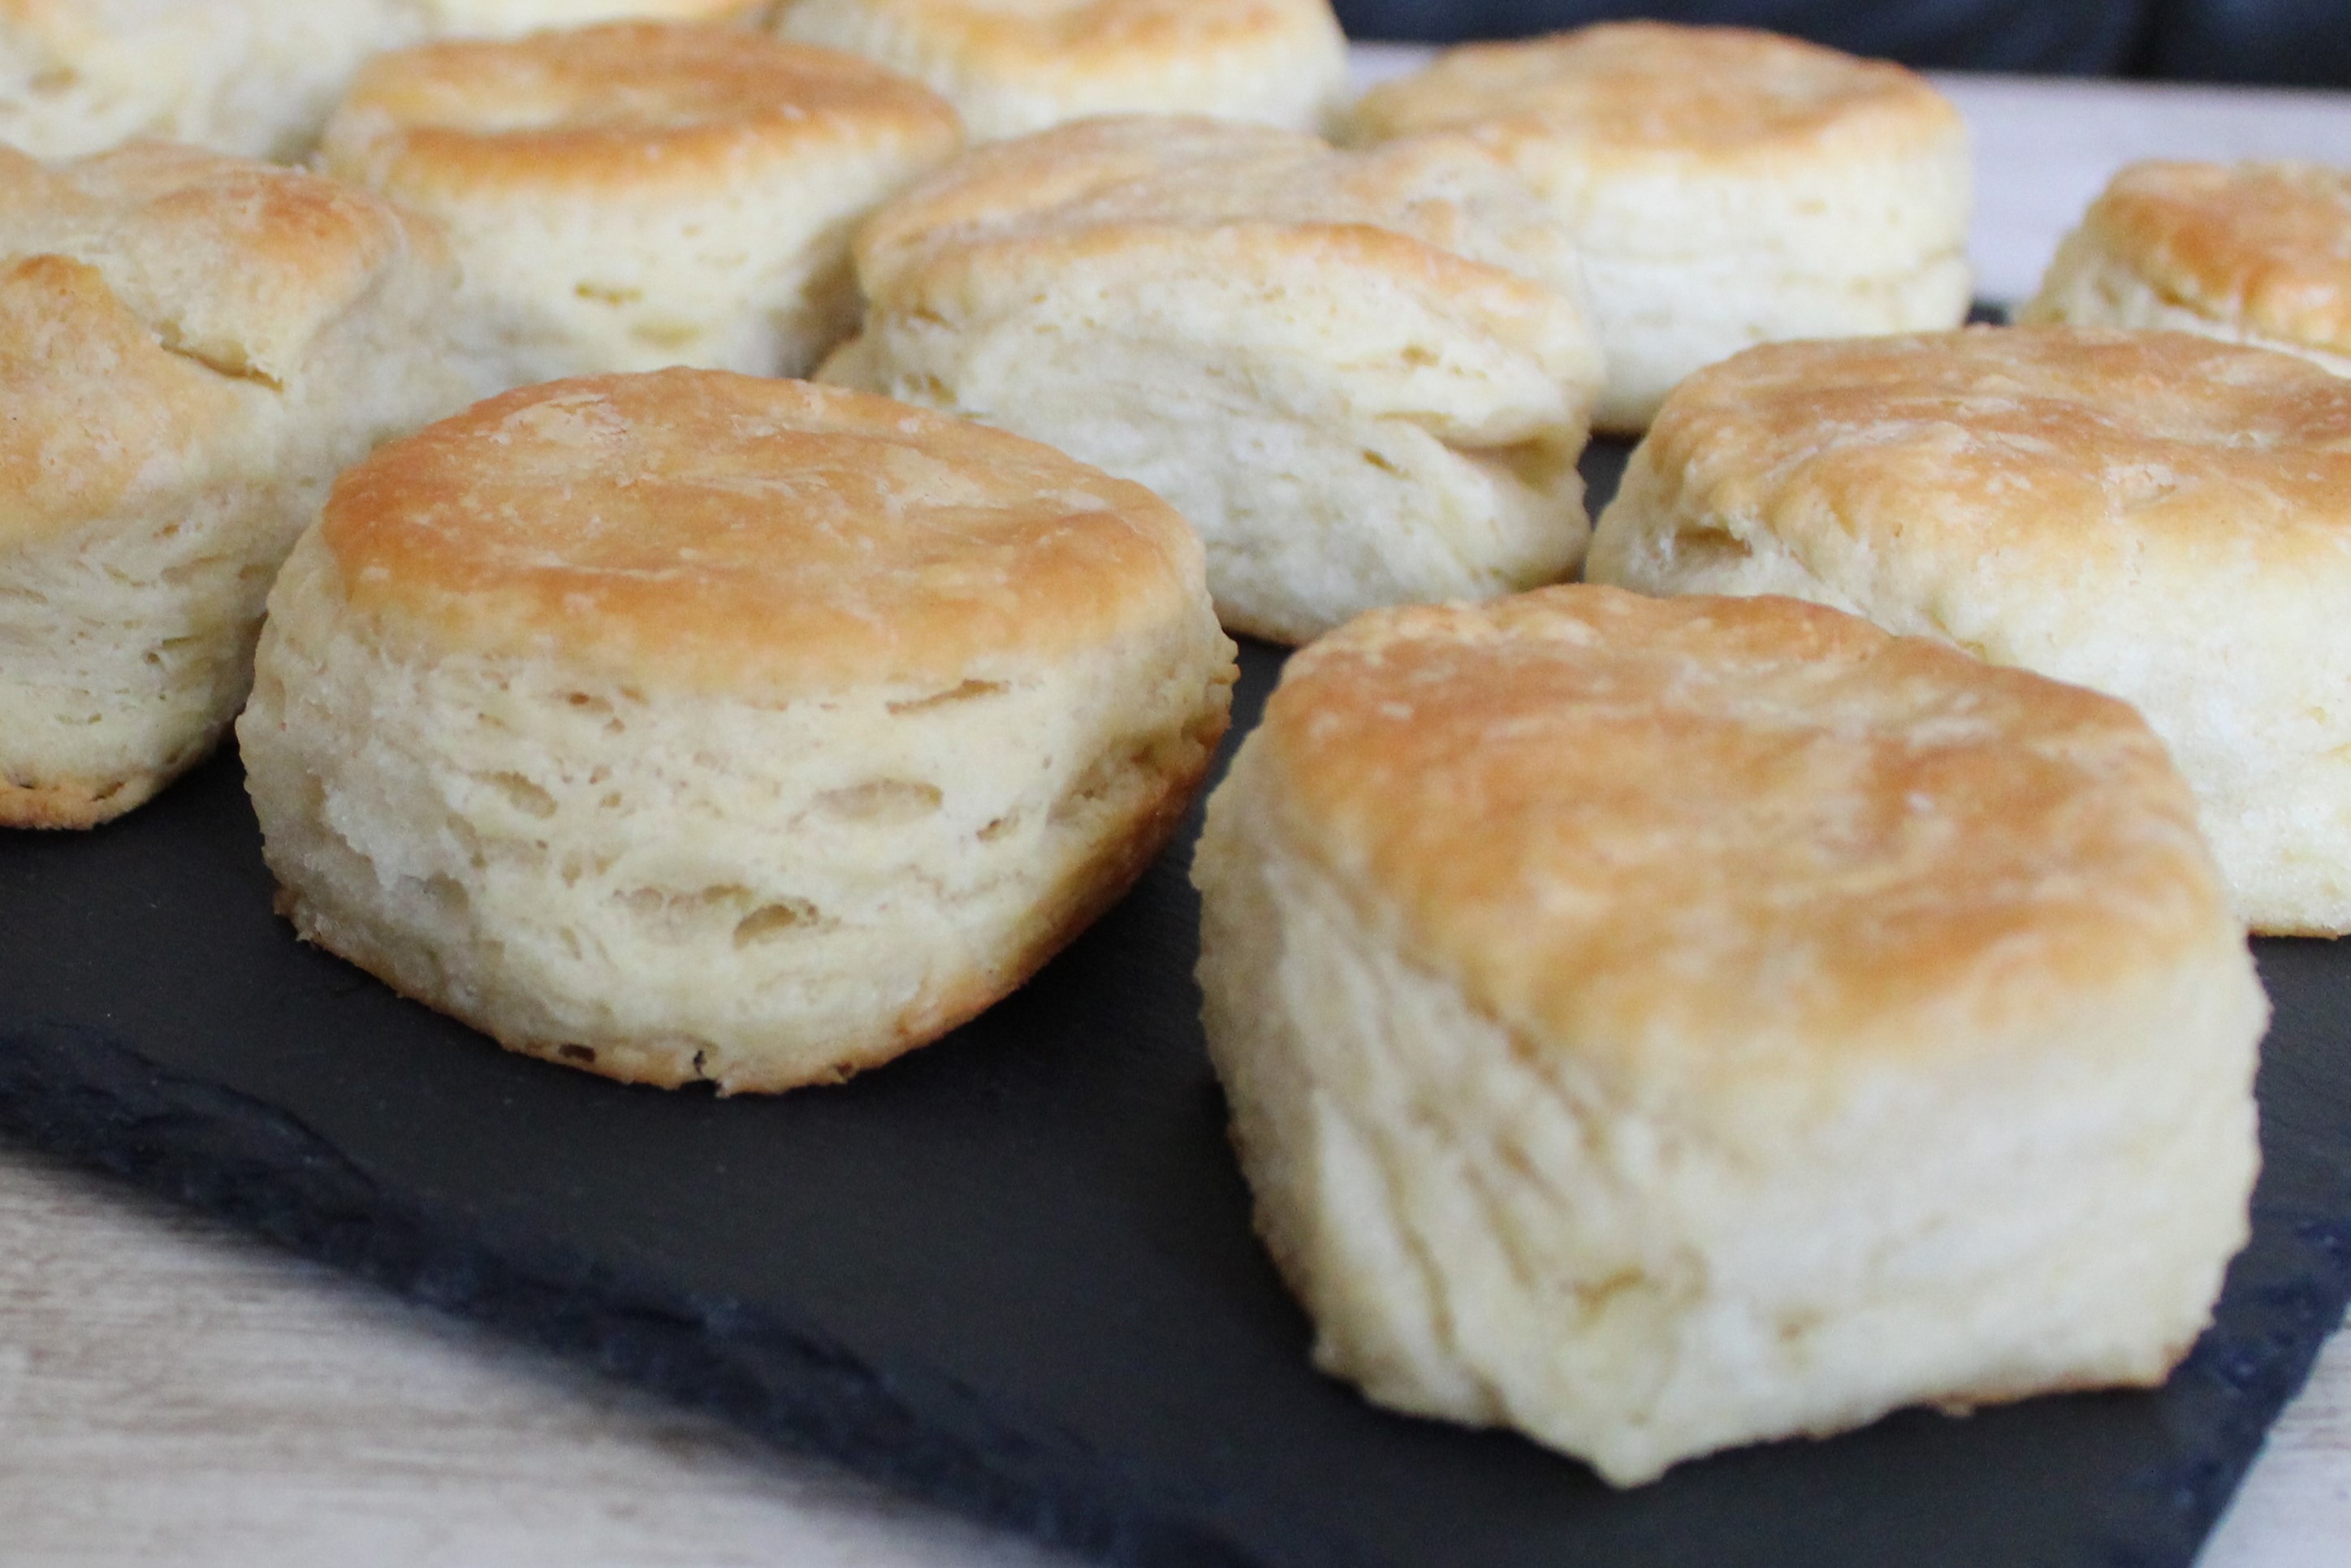
When cutting out the biscuits it is best to leave as little space between them as possible so as to get the most biscuits out of the first roll out of the dough as possible. It is possible to rework and reroll the dough to get a few more biscuits, but every time the dough is reworked the biscuits will loose more and more of their structure. Therefore, I only recommend reworking and rerolling once. Also, it is best to push the the biscuit cutter straight down and bring it straight back up. Avoid turning the biscuit cutter side to side while cutting out the biscuits. Turning the biscuit cutter side to side will cause the edges to seal and prevent the flaky layers from expanding when the biscuits bake in the oven.
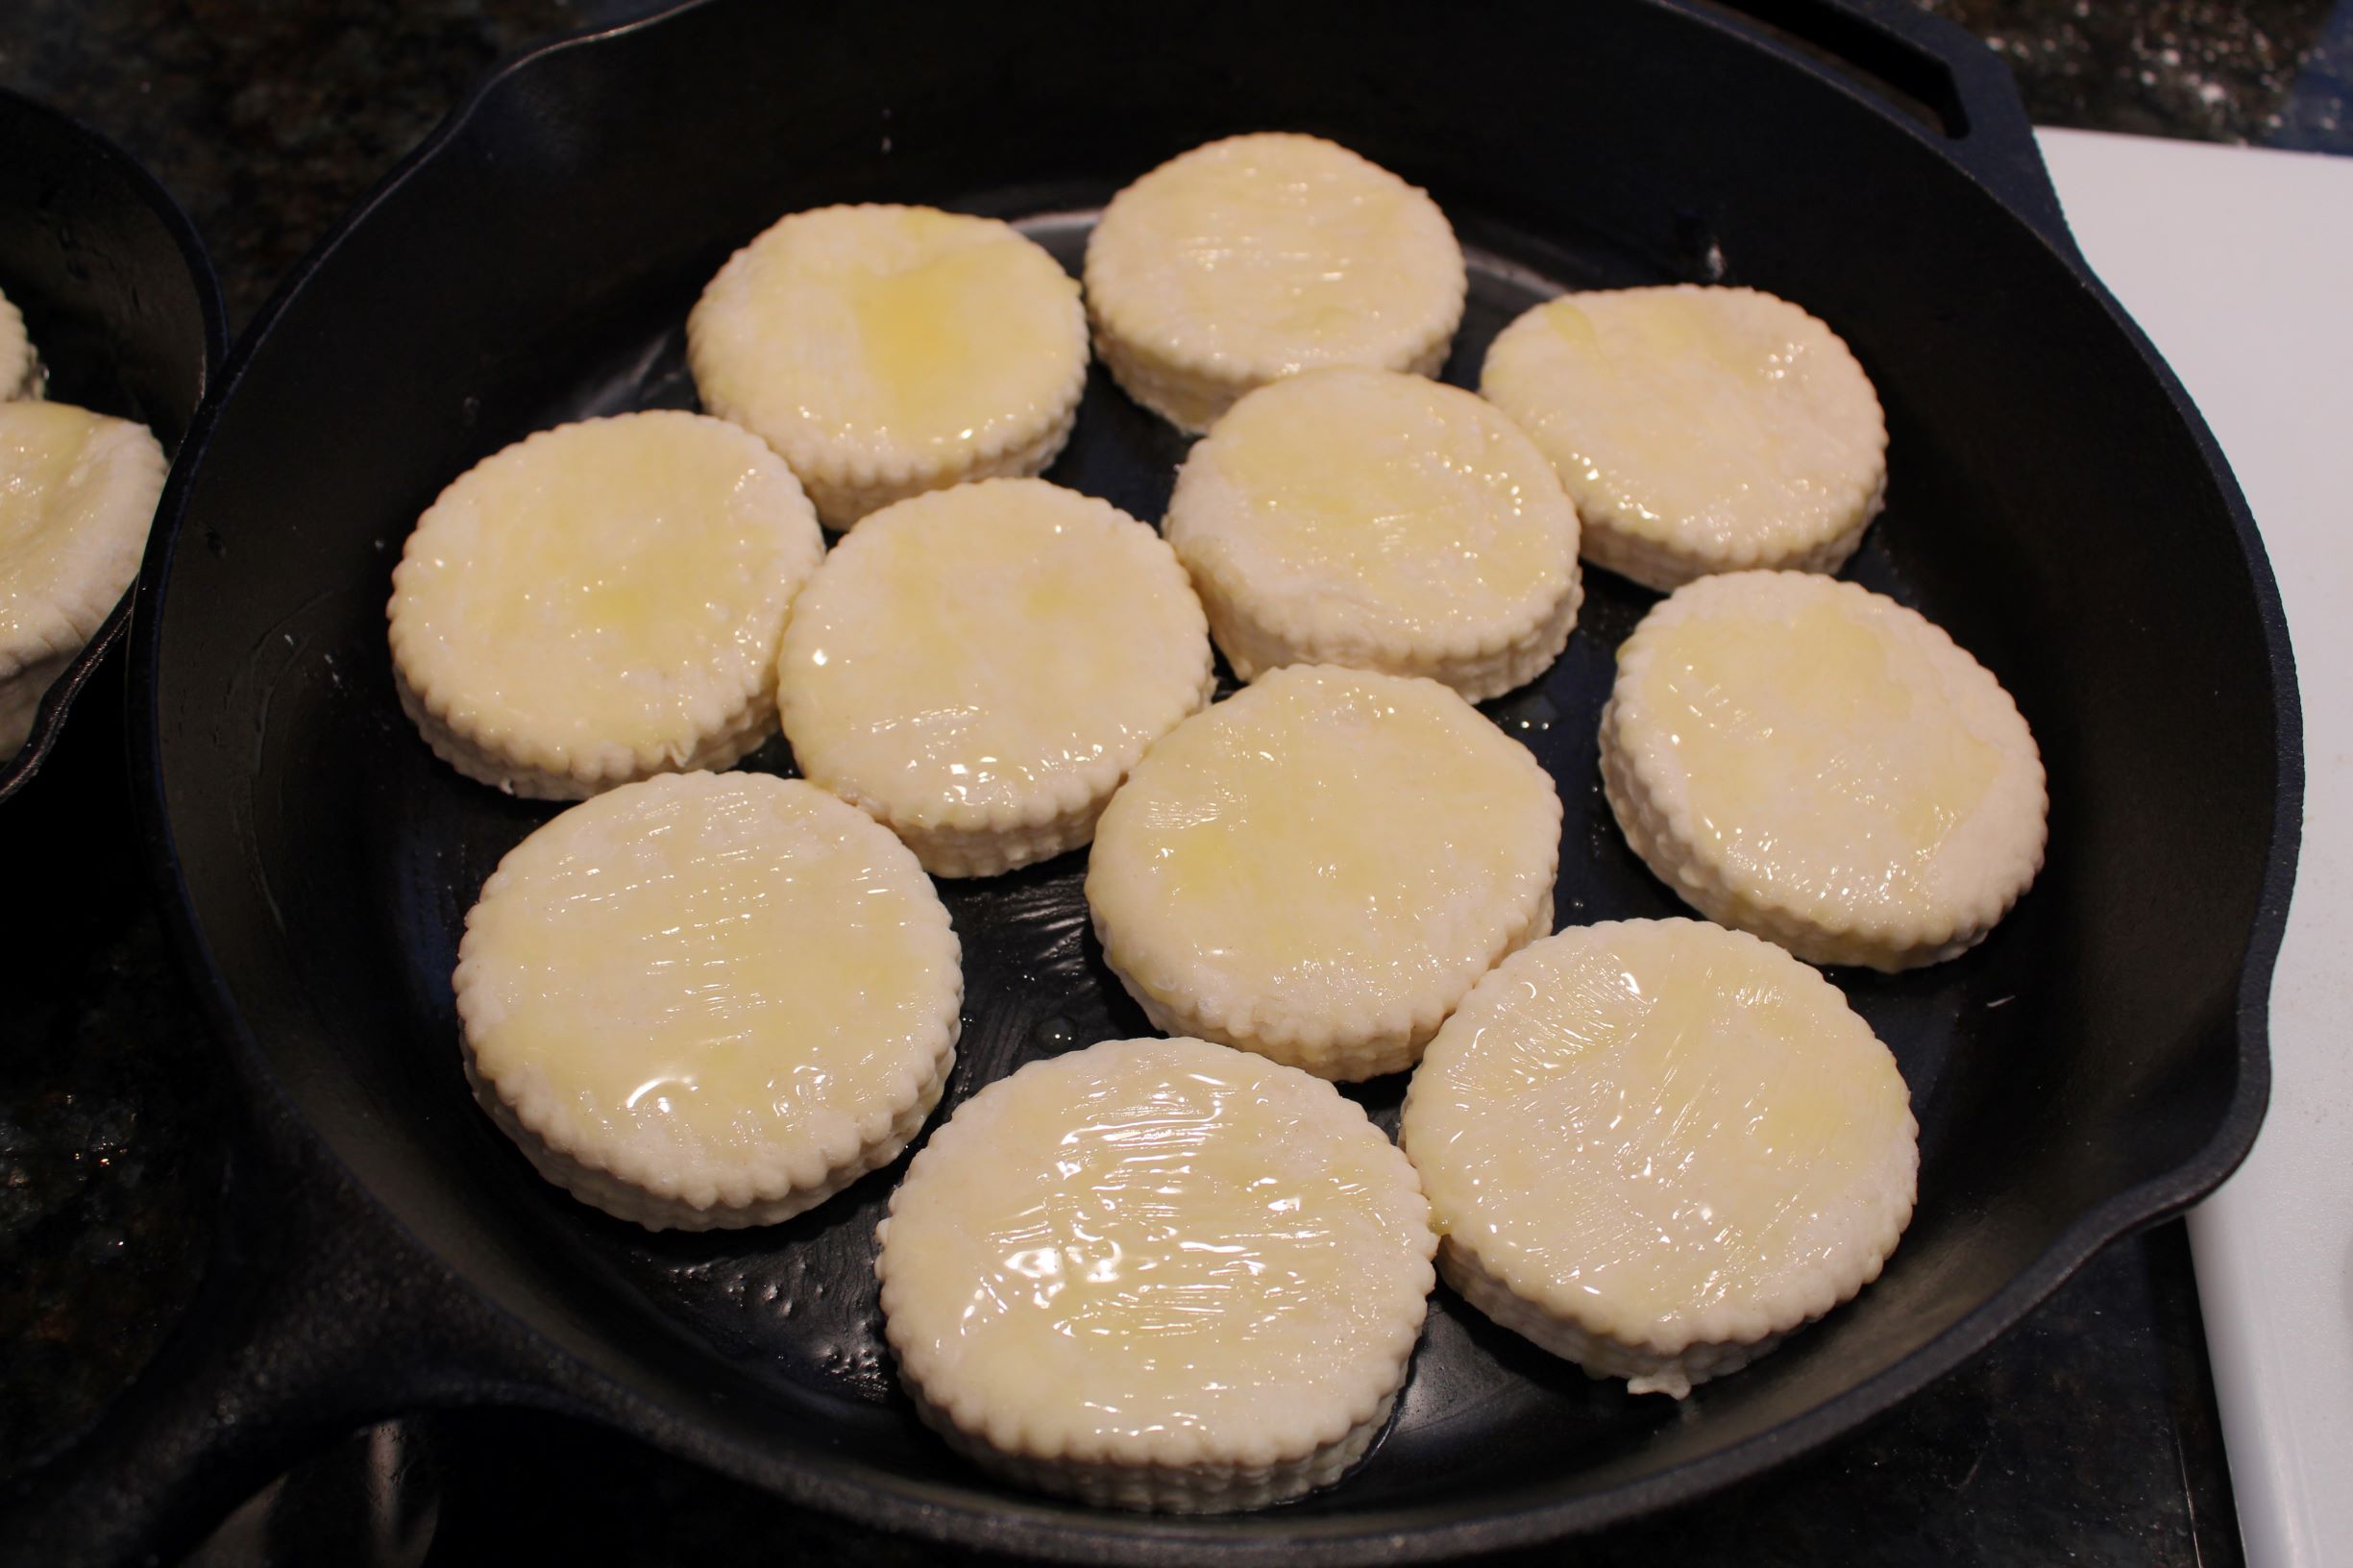
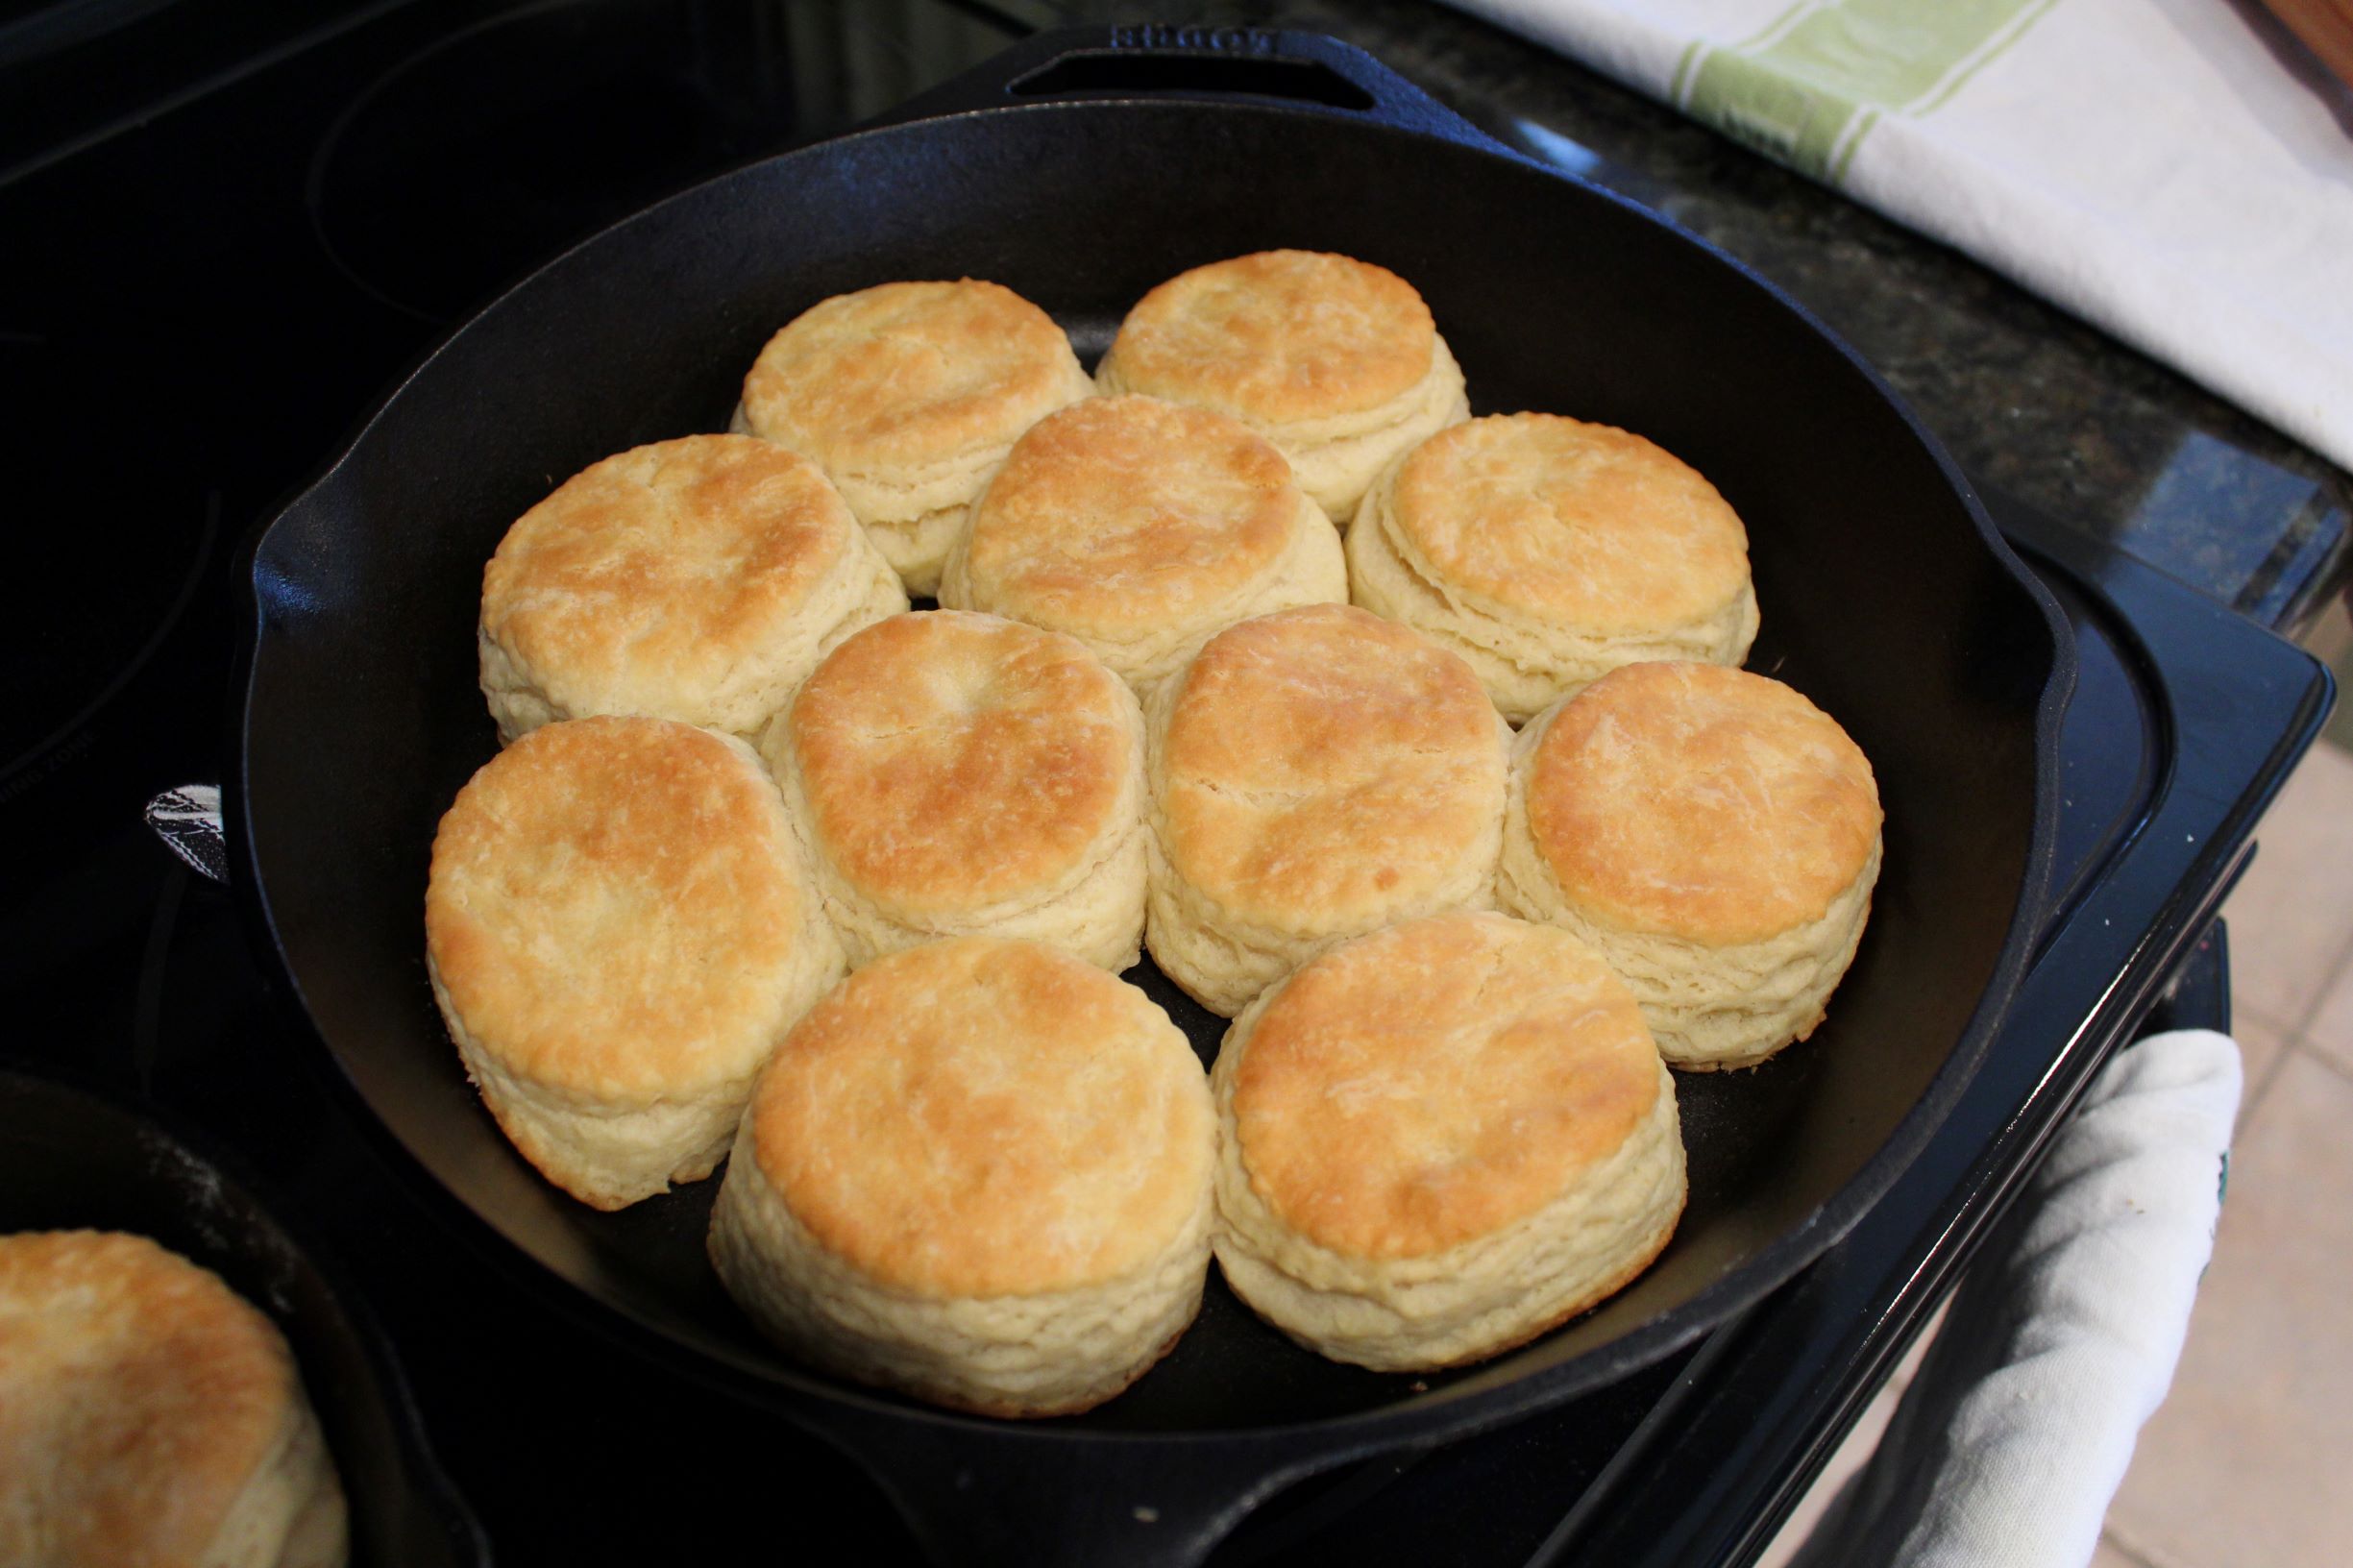
For baking the biscuits, I like to use a preheated cast iron pan. I feel that it creates a nice crust on the bottom of the biscuit while leaving the inside soft and pillowy. Also, by placing the biscuits into an already hot pan the bottom of the biscuit will immediately start to cook when placed into the pan, thus helping to seal the round shape and prevent too much spreading. I find that it is best to preheat the cast iron pan along with the oven. When the time comes to place the biscuits in the pan brush it with an even coating of melted butter to help prevent any sticking. If you do not have a cast iron pan on hand a traditional sheet pan will also work. No matter which method is being used you will want to place the biscuits relatively close together. This way the biscuits can “lean on each other” while baking which will help them rise up, rather than spread out.
Before placing the biscuits into the oven, I recommend brushing them with some type of fat, such as buttermilk or butter. This helps to deliver a biscuit that is beautifully golden brown and a little crunchy on top.
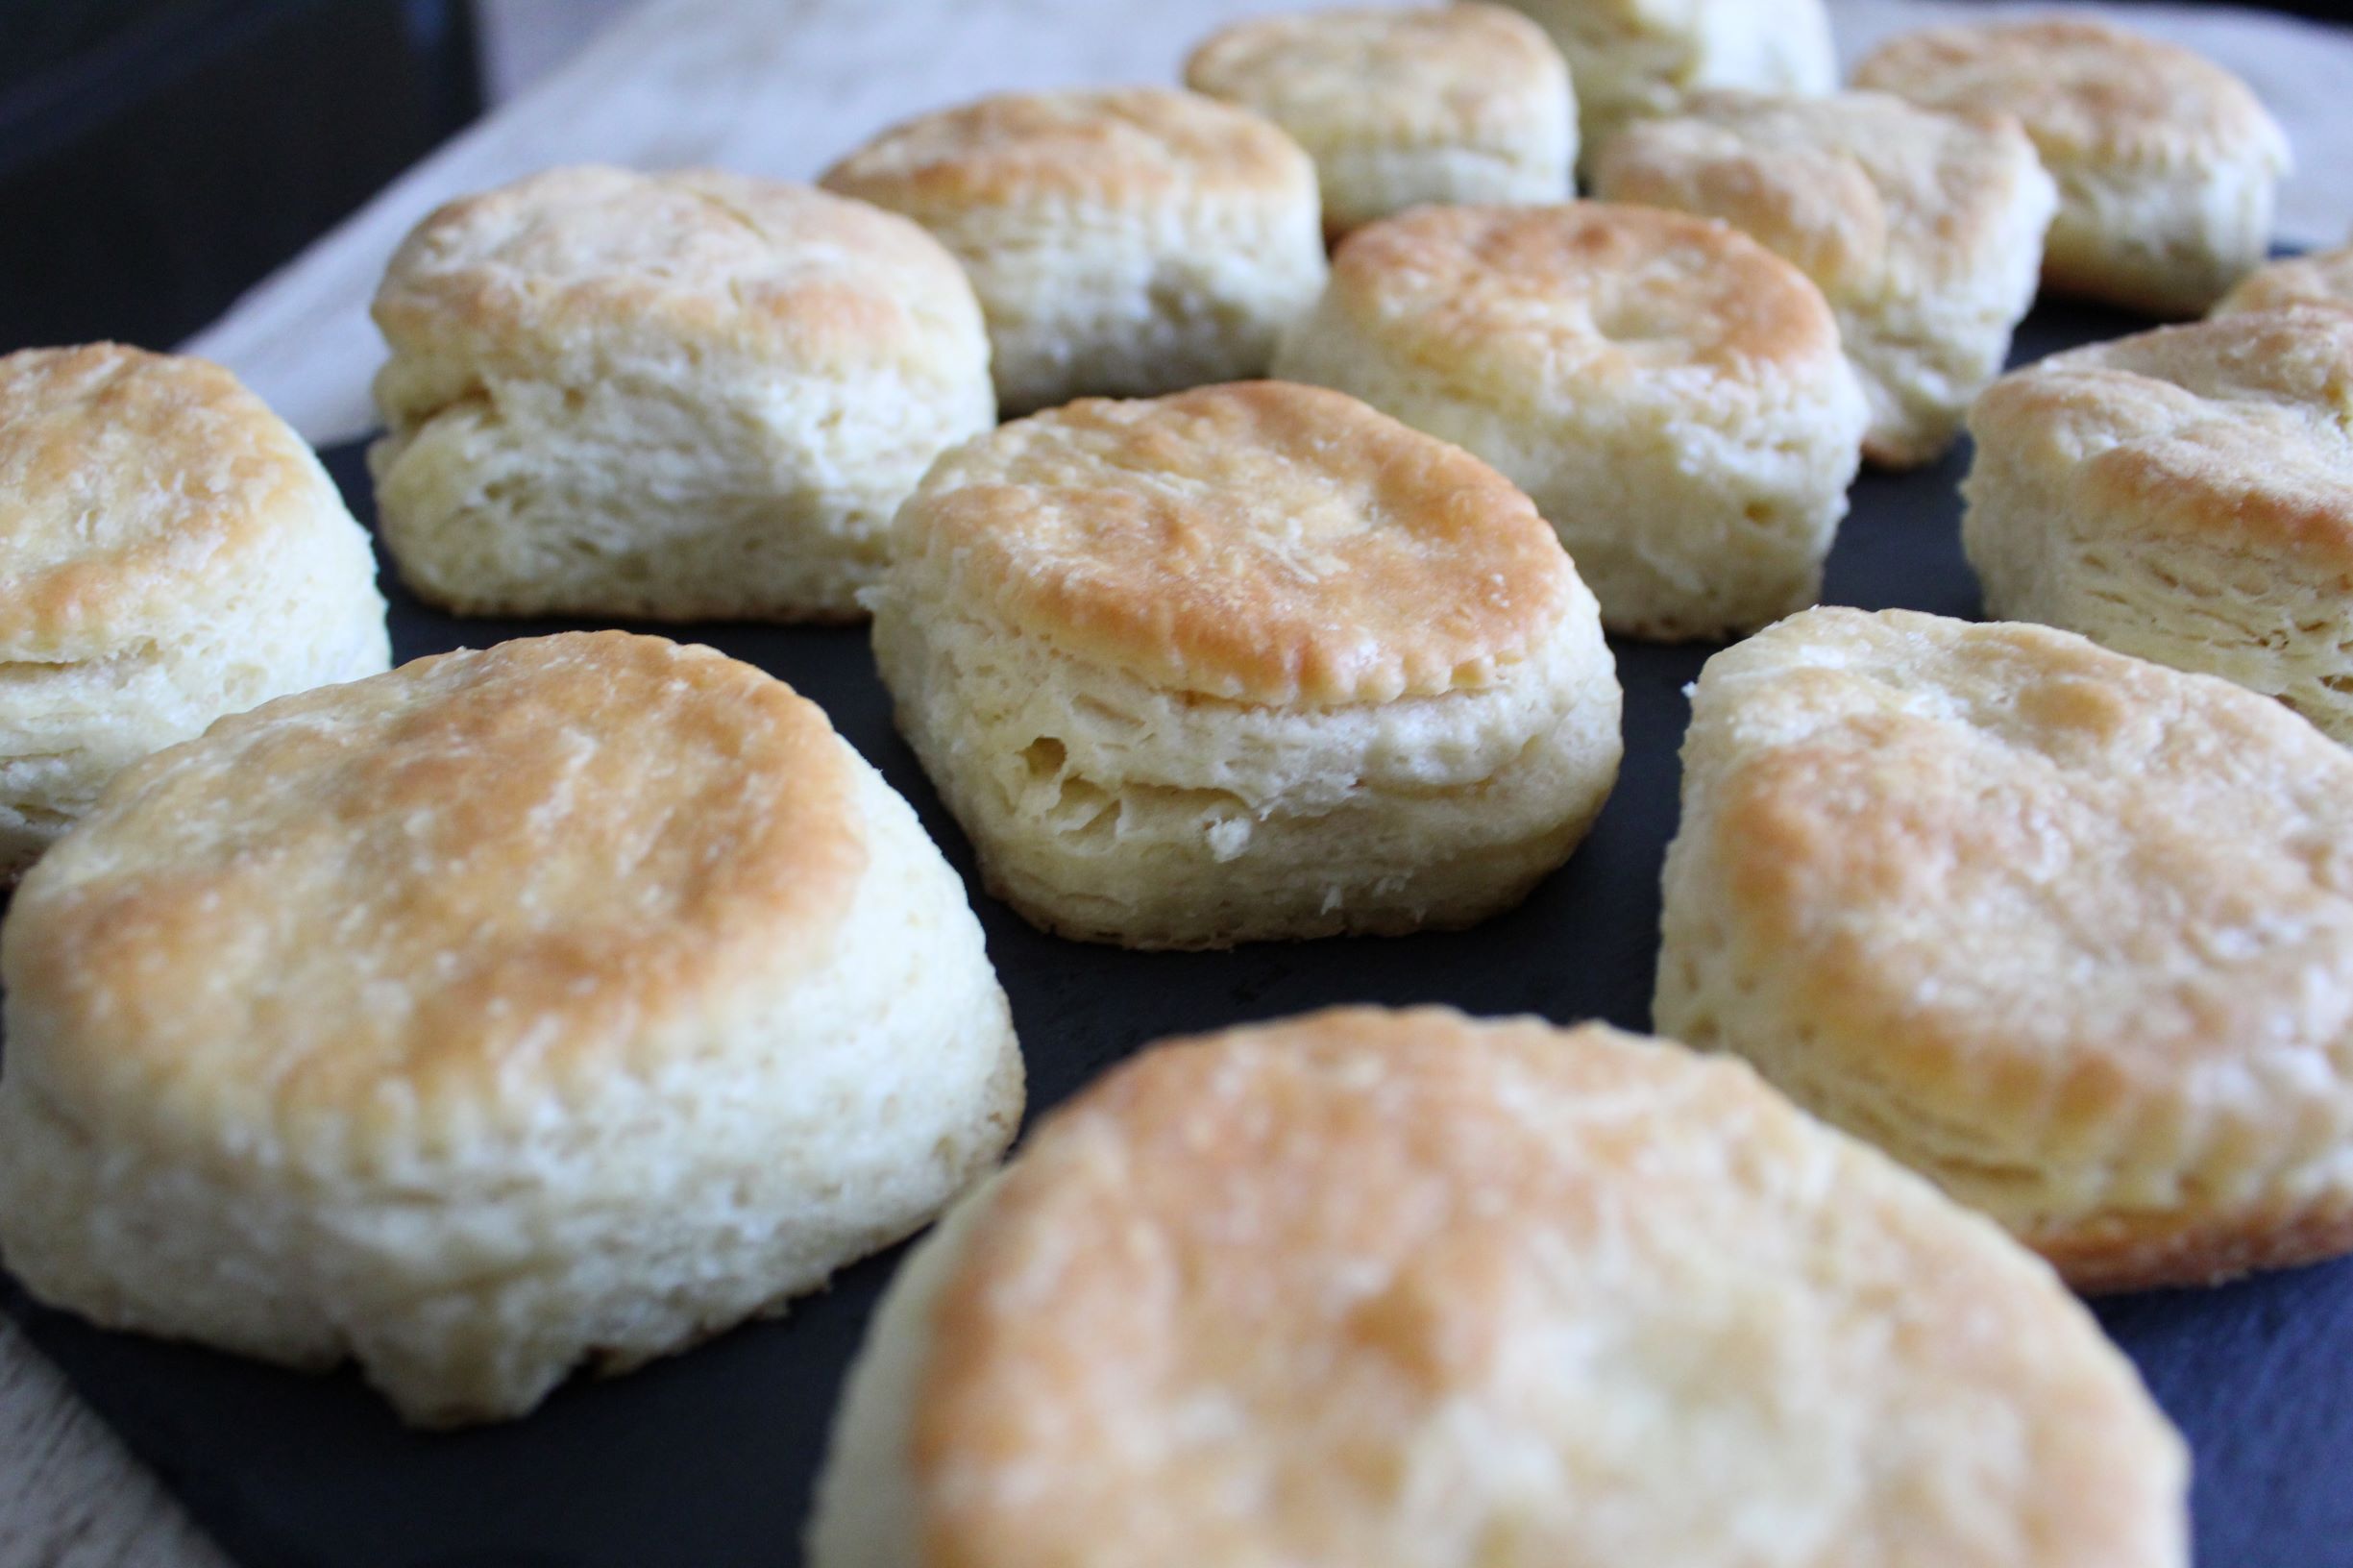
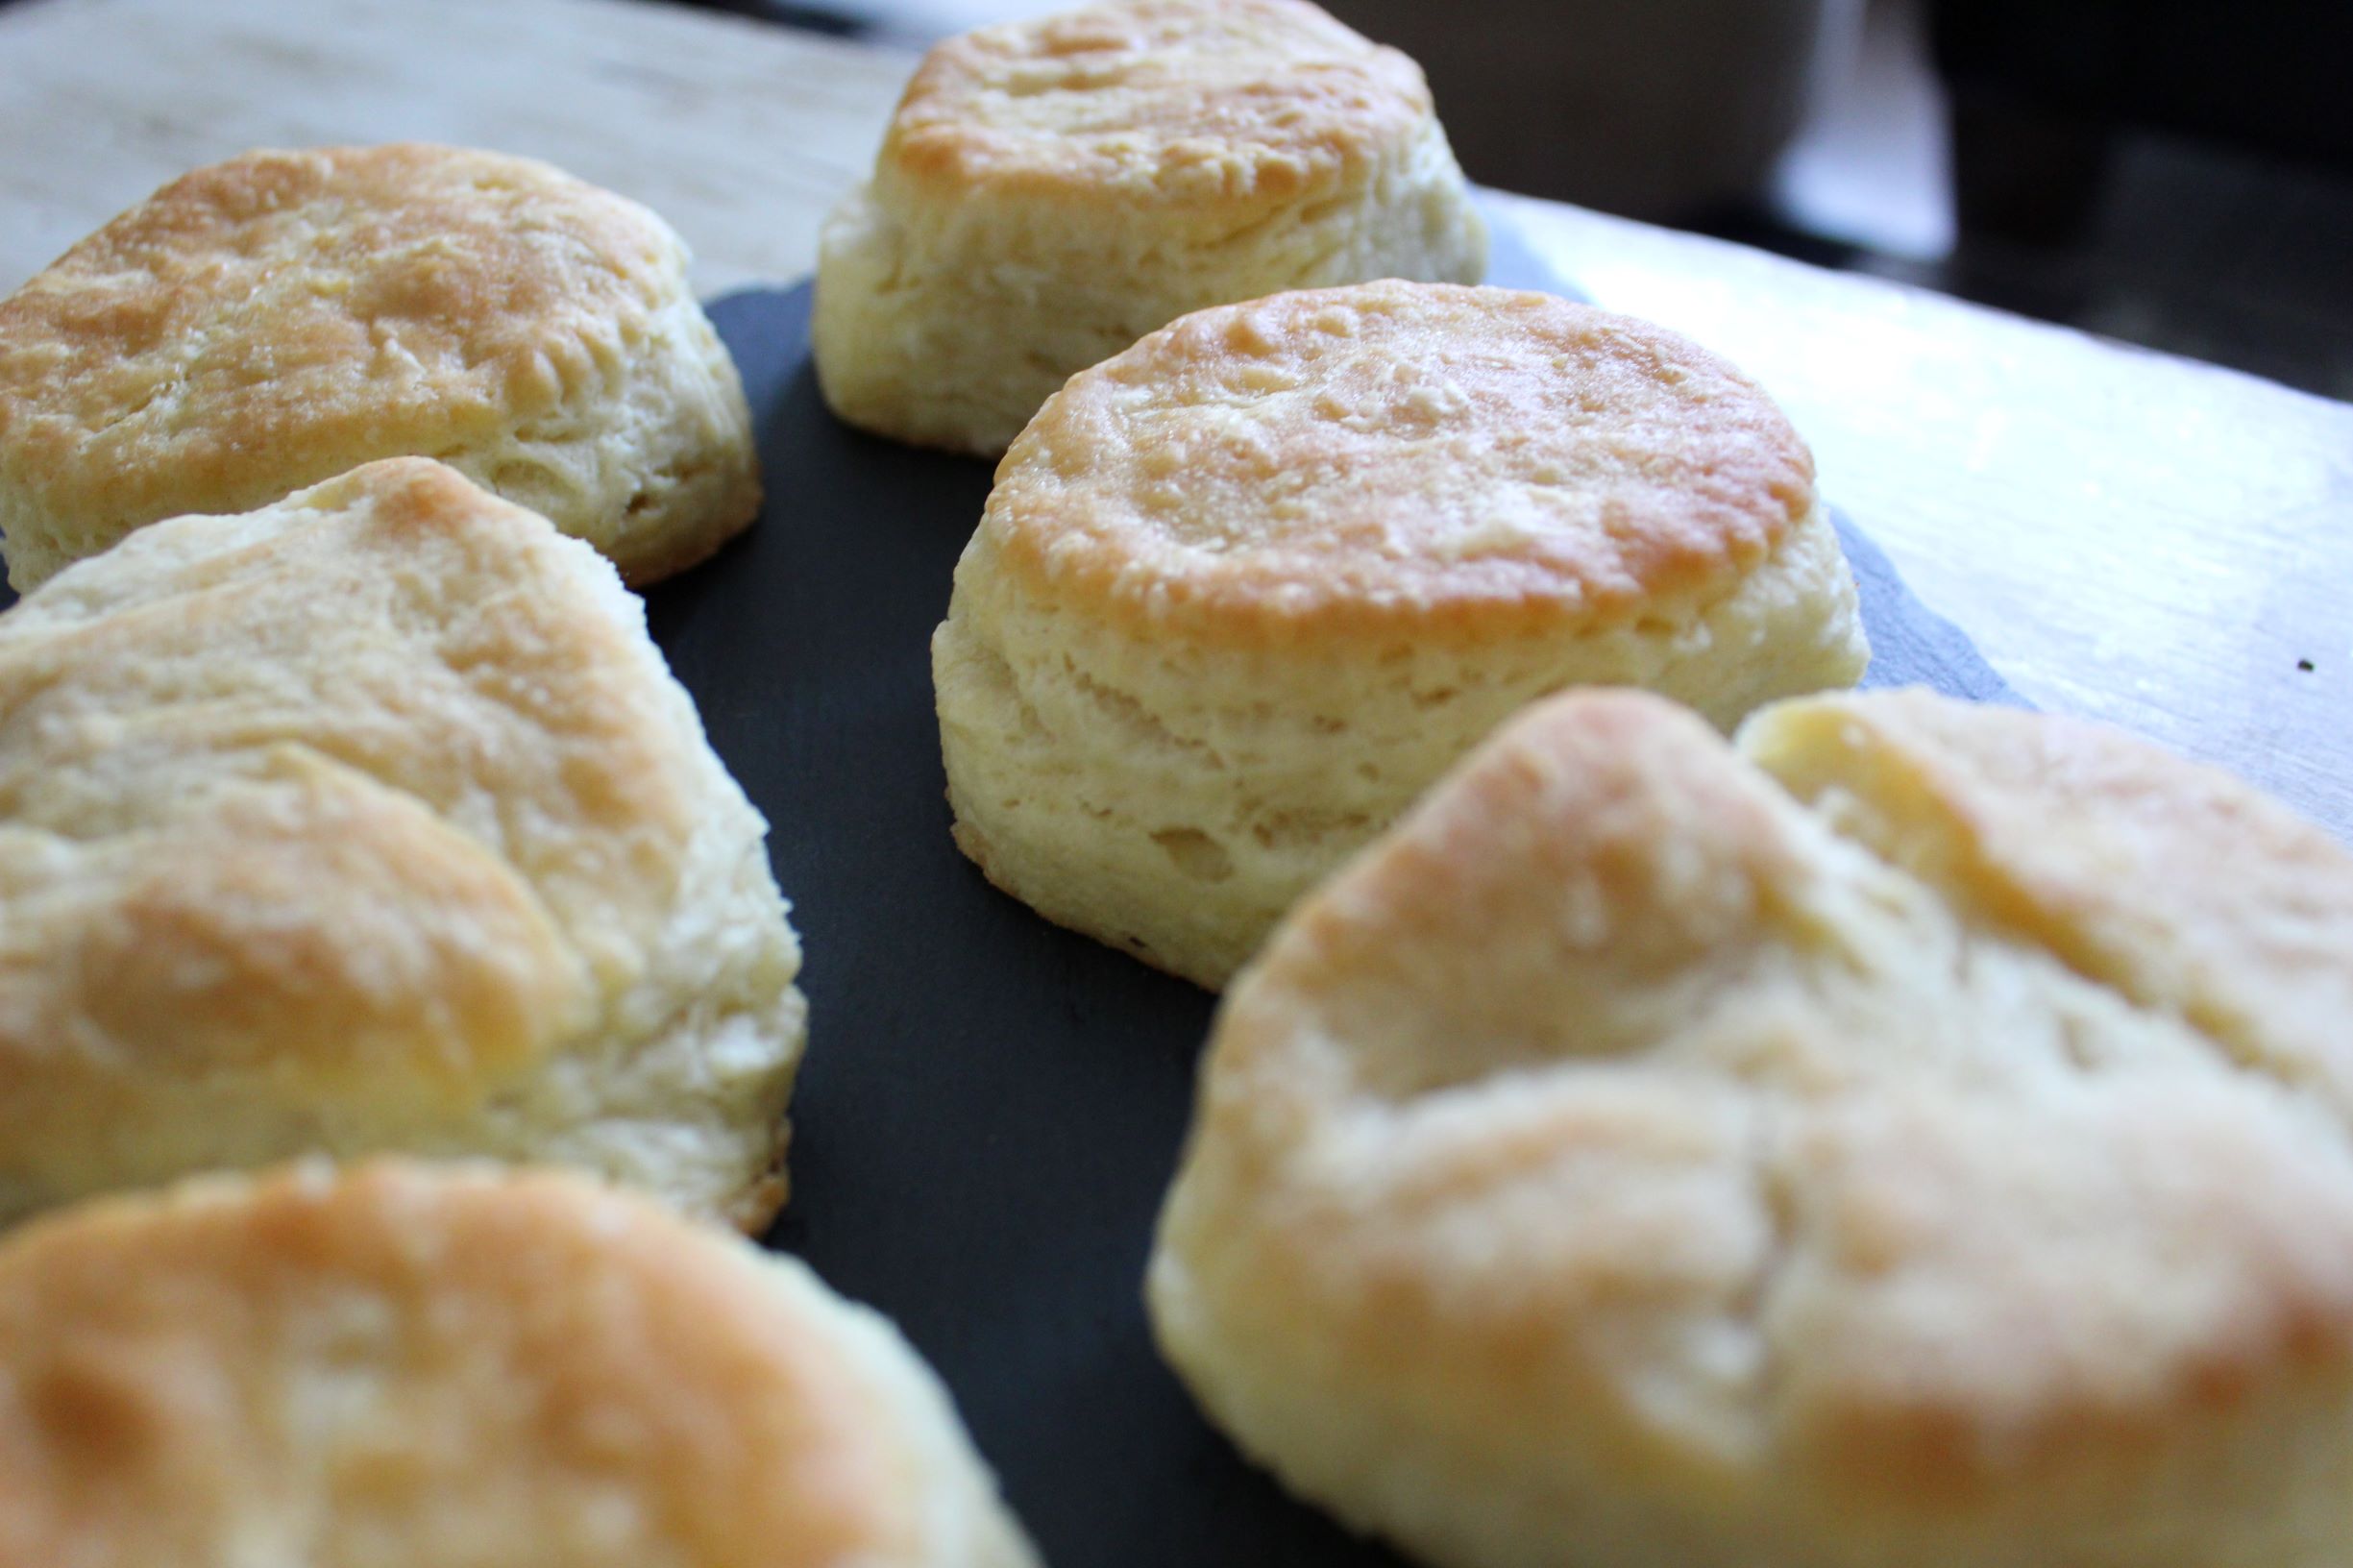
Baking time will vary depending on what type of pan is being used and how closely the biscuits have been placed together, but they should take around 18-22 minutes at 400° F. You will know that they are done when they have risen, are golden brown, and the whole house smells like fresh biscuits. Once done and removed from the oven, you will want to remove the biscuits from the pan to a cooling rack within a few minutes. Otherwise, they will start to steam and get soggy.
Hopefully, I have given you everything you need to know about making the perfect biscuit. If you are like me biscuits are a journey, not a destination. Once you have a reliable biscuit recipe to lean on the possibilities are endless when it comes to toppings (did someone say sausage gravy?) and variations (Cheddar Biscuits). But that is for another day.
Ingredients
3 3/4 Cups Flour
3 Tablespoons Baking Powder
2 Teaspoons Sugar
1 Teaspoon Salt
3/4 Cup Butter, Frozen
2 Cups Buttermilk
Directions
- In a large bowl whisk together the flour, baking powder, sugar, and salt. Chill for 30 minutes.
- Grate the frozen butter on the coarse side of a box grater and stir into the flour mixture.
- Create a well in the center for the flour butter mixture and pour in the buttermilk. Stir to combine, working the dough as little as possible.
- Turn the dough out onto a lightly floured work surface and knead for 1 or 2 minutes. Just enough to help finish bringing all of the ingredients together.
- Next, roll the dough out to about a 1/2 inch thickness. Fold the dough in half and then in half again. Roll the dough out for a second and third time, folding into quarters after each roll. After folding the dough into quarters for a fourth time, place the dough in the refrigerator for at least 30 minutes to keep it cold. While the dough is chilling preheat the oven to 400° F. If using a cast iron pan(s) preheat that along with the oven.
- Once the dough has chilled roll it out one last time to about a 1/2 to 3/4 inch thickness. Quickly cut the biscuits out to the desired shape and size.
- If using a cast iron pan quickly brush with melted butter and place the biscuits in the pan. Or place on a regular sheet pan. Brush the tops of the biscuits with buttermilk and place in the oven. The biscuits will bake until completely risen and golden brown, about 18-22 minutes.
- When done, remove the biscuits to a cooling rack. Yields approximately 15 biscuits.