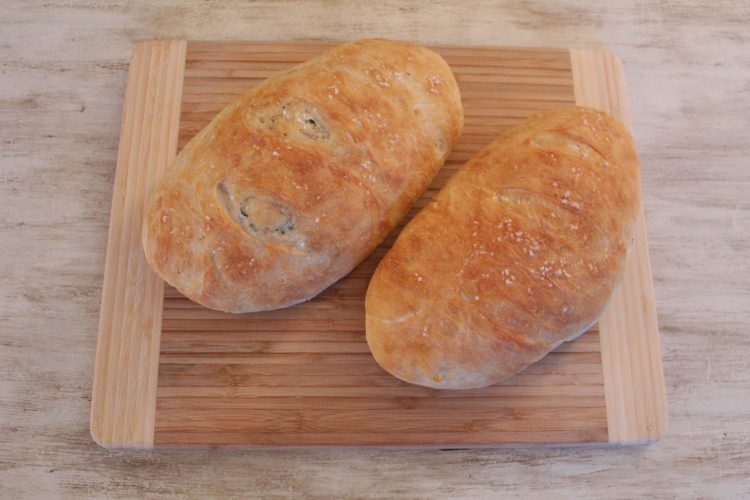
The inspiration for this recipe comes from a bread that I used to buy at a local grocery store. My family loved this bread with and for just about anything. It worked great when making garlic bread to go along with pasta and was also a delicious vessel for a panini. Then the sad day came where we could no longer find this bread in the store. So naturally I set out to make my own. Essentially, I took the basics of any bread recipe; water, yeast, salt, and flour, enriched it slightly with some honey and olive oil and mixed in some more flavor with rosemary. A few tweaks and a test loaf or two later and I had the rosemary olive oil bread that I wanted.
People are often overwhelmed by the idea of making their own bread and often it is the idea of using a yeasted dough that scares them. They worry that the dough won’t rise, it might be over worked, or not bake all the way through. So before we get to the recipe, let’s first establish some principles of using yeast:
- Make sure your yeast is fresh. It’s important to remember that yeast is a living organism and if it’s dead your dough isn’t going to do anything. Therefore, always check the expiration date on the yeast packet before you use it. If the packet is so old that the expiration date has worn off, that’s a good sign that the yeast inside is no longer living.
- Yeast does not like extremes in temperature. Like I said earlier yeast is a living organism. If you mix in a very cold liquid the yeast will have a hard time activating, mix in a super-hot liquid and you kill the yeast. My recommendation is to use liquid that is “tap” warm. You should be able to hold your finger in the liquid without hurting yourself.
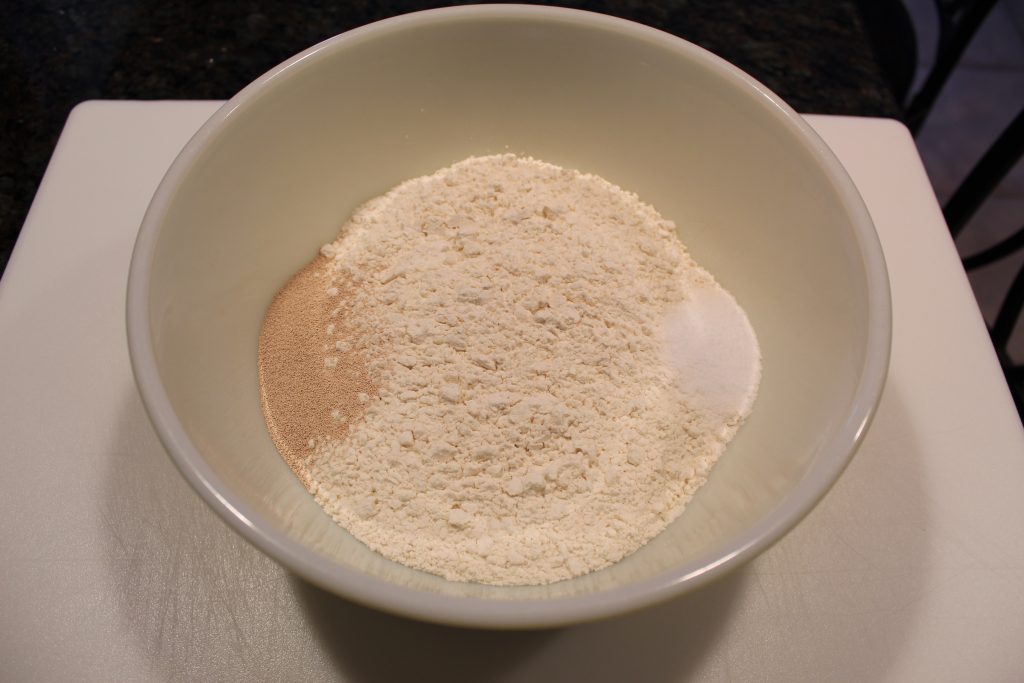
- Salt kills yeast. Have I mentioned that yeast is a living organism yet? Well, it is and it does not like coming in direct contact with salt. Therefore, always make sure you add your salt and yeast to opposite sides of the bowl if/when your recipe calls for mixing the yeast in with the dry ingredients.
Once you have mixed all your ingredients together, you will then knead the dough. Kneading develops the gluten in the dough which essentially gives the bread its structure. Most stand mixers come with a dough hook which can be used for kneading. Personally, I almost always prefer to knead by hand. This offers more control and you can feel the gluten as it develops. A good way to test a basic bread or pizza dough recipe to see if it has been sufficiently kneaded is to form the dough into a ball. Then press your finger into the top of the ball. If the dough springs back, then you know you have worked the dough enough. Another way to gauge if the dough is ready is called the “window pane” test. For this, take a small piece of dough and stretch it out between your fingers. If you can pull it thin enough that you can see light through it, but it doses not break, the gluten structure has been sufficiently developed.
After you complete the kneading step it is time to let the dough rise, also known as proving. This is the process whereby the yeast has a chance to grow, contributing to the structure and flavor of the dough. Here again, we need to keep in mind yeast’s aversion to extreme temperatures. It is possible to prove dough in a cold environment (such as the refrigerator) but keep in mind that it will take a long time, possibly overnight. Too warm of an environment and the dough will rise too quickly collapsing back in on itself. So, if you’re not doing a slow overnight rise, I would recommend room temperature or just slightly warmer, so about 75 to 95 degrees. Living in south Florida I will often prove dough outside where it is easily 85-90 degrees. If your house is particularly cold and you are having difficulty getting your dough to rise you can consider using your oven. To do this heat the oven to the lowest setting, usually around 150 degrees. When you put the dough in turn the oven off so it will start to cool down. No matter what method you use you will know that the dough is done proving when it has doubled in size, this generally takes about one hour when using the “warm” method and about 12 hours when using the “cold” method.
Now that your dough has proved you will punch it down. This is also the best time to add anything you want to mix into the dough. In the case of this recipe that will be the rosemary. The reason for waiting until now to add other ingredients is that “stuff” (nuts, herbs, cheeses, dried fruits), will weigh the dough down and inhibit the yeast from growing. Once you have mixed in the rosemary; shape the dough and let rest again for its second rise. In general, you will want to do this second rise at room temperature for about an hour. If you let the dough do its second rise in the refrigerator overnight, that works, but make sure the dough sits at room temperature for about half an hour before baking. Yeasted doughs are not puff pastry, they do not like the sudden change in temperature from cold to hot.

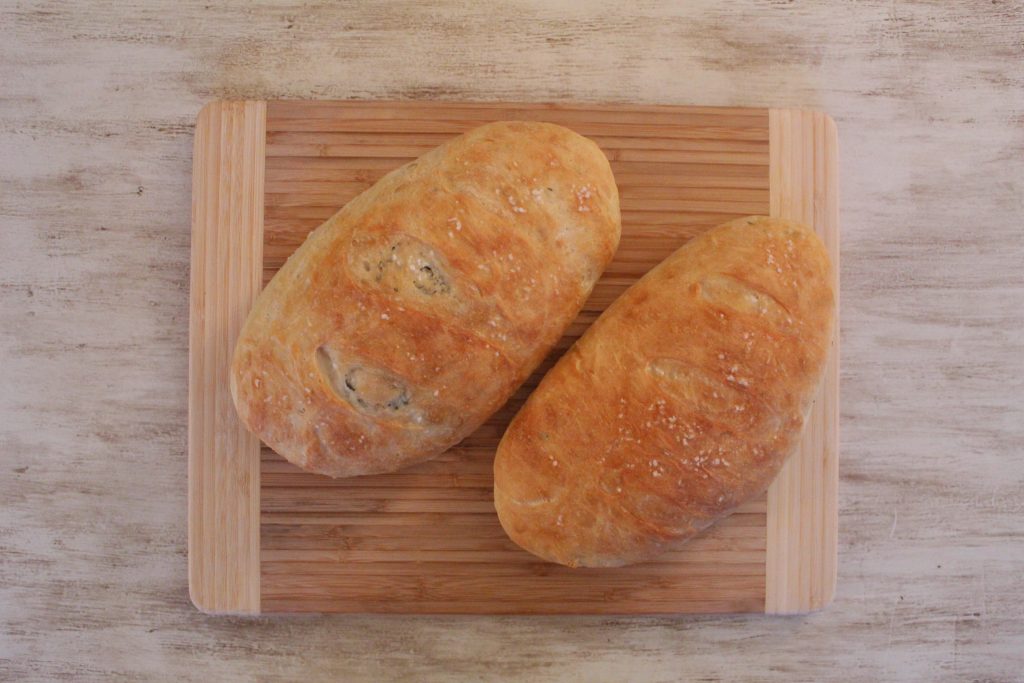
Now that the dough has rested and finished its second rise you are ready to bake. For these loaves I recommend a relatively high temperature, 400° F, for about 23-25 minutes. This allows a nice color to form on the outside of the loaf, while still leaving the inside with a soft and fluffy texture. Enjoy this bread fresh out of the oven or store sealed in a plastic bag at room temperature for up to three days. You can also freeze the bread for up to a month.

Ingredients
3 1/2 Cups of Bread Flour
1 Packet of Active Dry Yeast
1 Teaspoon of Kosher Salt
1 1/2 Cups of Warm Water
1 Tablespoon of Olive Oil
1 Teaspoon of Honey
2 Tablespoons of Diced Rosemary
Extra Olive Oil and Kosher Salt for Topping
Directions
- Measure bread flour into a large bowl. Add yeast and salt to opposite sides of the bowl.
- Add warm water, olive oil, and honey. Mix until dough starts to come together.
- Turn dough out onto a well floured surface and knead for approximately 5 minutes. To test the dough form it into a ball and press your finger in. If dough springs back it is ready, if not continue to knead for another minute and then test again.
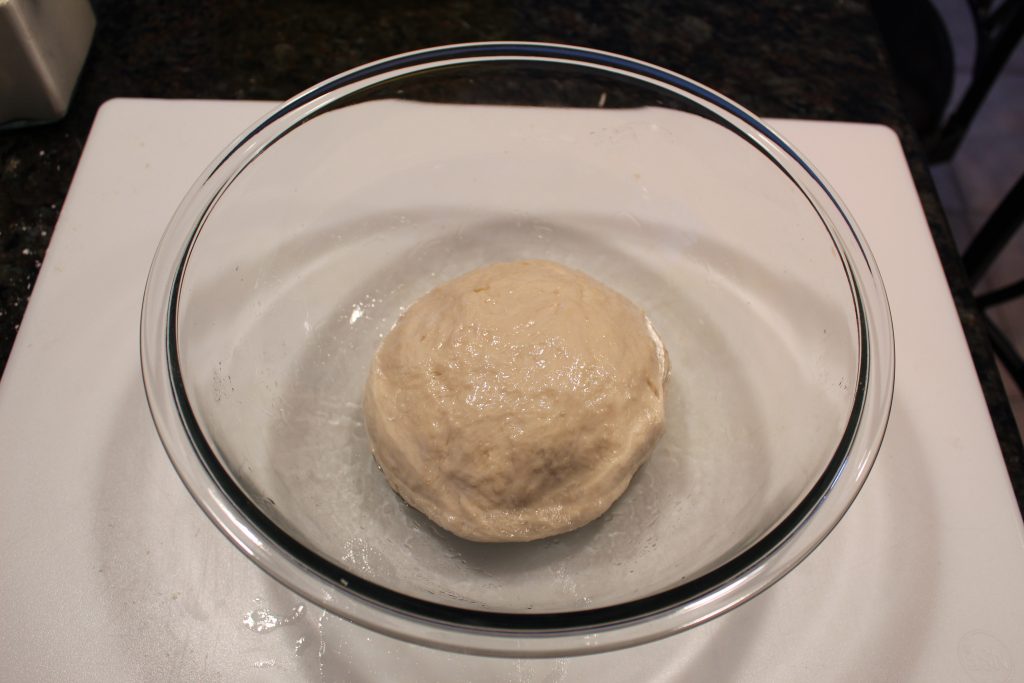
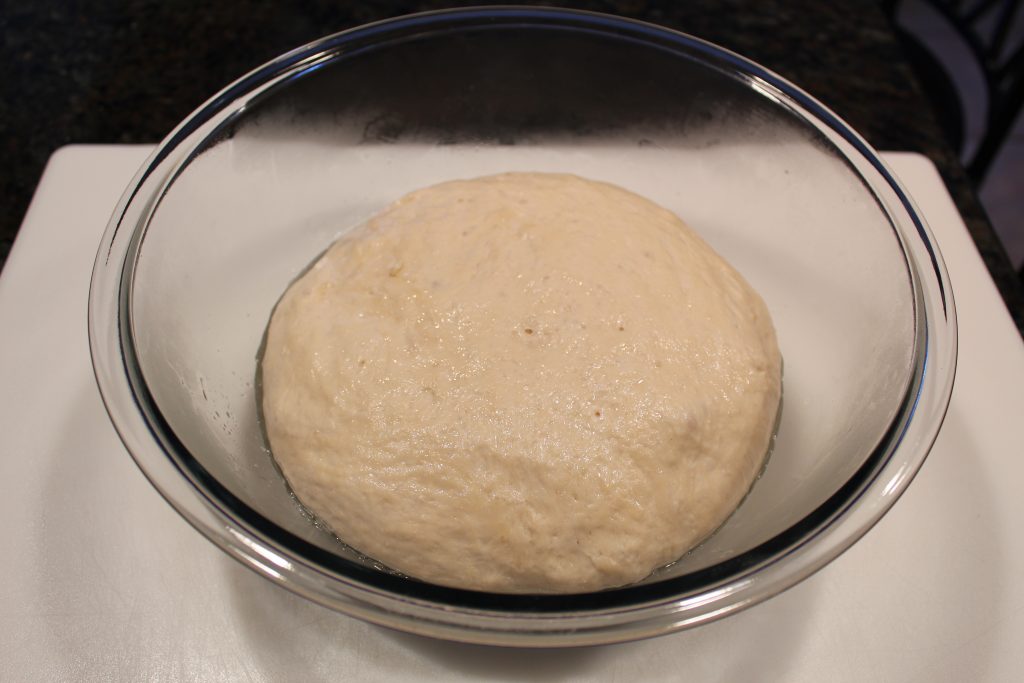
- Lightly coat the dough in olive oil and place in a large bowl covered with plastic wrap. Place in a warm place free from drafts to rise until doubled in size. Approximately 1 hour.
- Once risen, punch the dough down and spread out on a floured surface. Sprinkle the rosemary evenly across the dough. Work the rosemary into the dough by kneading for one minute.
- Form the dough into a ball and cut in half. Form each piece of dough into a loaf and place on sheet pan. Score the tops of each loaf 3 times down the middle and sprinkle with kosher salt.
- Loosely cover the loaves with plastic wrap and place in a warm area free from drafts. Let rise again until doubled in size. Approximately 1 hour. Meanwhile, preheat the oven to 400° F.
- When dough is ready place tray on middle rack of preheated oven.
- Bake for approximately 23-25 minutes. Bread should be nicely browned and sound hollow when tapped.